Everything you need to add control to your ungainly dust extraction hose. And More.
This bundle is designed to be used with the thinner hoses from dust extractors rather than the larger chip collector hoses.
The bundle contains 4 identical folders, each one adapted for the 4 commons hose sizes 26mm, 32mm, 35mm and 38mm. Though you may find that like me, if you have the festool 35mm hose that the 38mm clips fit better on the main body of the hose, whereas the 35mm clips fit better close to the nozzle. This is why you get all 4 size related bundles for one price. Chop and change as needed.
Each bundle includes the same items, each scaled to the best fit for the hose.
For strength I used 6 walls, 35% infill with gyroid. But you can adapt if you feel you need more or less strength / more of less print time.
Contents of each bundle.
The pictures also describe these files better than my words.
File1 - The Hose Raiser head - designed to be used when making your own dust hose raiser.
The raiser supports your hose above your work so you dont have to carry the weight. Simple attach the raiser head on the top of a 35mm square length of wood and you are on your way . See this video for full build.
https://youtu.be/VZxWObJ73T0
The only construction needed is to glue a 3mm pin into the hinge. For mine the fit was so tight I didnt need to use glue. If you do need glue, ensure no glue makes contact with the inner hinge piece.
File 2 - Hose Raiser Brackets and pins - These attach to the side of your cabinet or workbench to support the hose raiser bar. I recommend 2 per build, and keep them pretty close and high on the side of whatever you plan to attach your raiser to. That way you get stability when it is up high. These too are designed to be a tight fit for a 35mm square bar. There is a pin in the file too that comes in 2 parts, the first is the grip and the second the pin itself. I found printing these separate and gluing together the pieces worked best.
File 3 - Hose holder fixed clamp - This permanently attaches to the hose close to the nozzle. The Dog is printed separate, simply glue the dog into the recess under the clamp allowing you to mount your hose in a dog hole in your bench. See the video for full details and whether to use a sliding dog or normal dog. Both are included in the bundles. (recommend the sliding dog as a best of both worlds solution)
File 4 - Hose holder fixed wall clamp - Designed to be attached to your dust hose in an area where you want to permanently fix it to the wall or ceiling.
File 5 - Hose holder sliding mount - A wall bracket designed to be used with the sliding dog and fixed clamp so you can place the mount anywhere you wish to hold your hose allowing for easy access. Simple slide it on to fix it in place and slide it off to use it.
File 6 - Dog port loose and tight - Simple dog holes that you can fix to the wall where, much like the sliding mount you can push your affixed fixed clamp in using the dog and friction to hold it in place.
File 7 - Hose holder wedge wall and dog - An open hose holder that you can fix to your wall or ceiling to hold your hose in place allowing for quick release and use.
File 8 - Slimline hose holder wedge - as above but more slimline, ie closer to the wall or ceiling. Use the one that suits your needs and clearance requirements best.
File 9 - Simple 19.9mm dog - The dog as a separate file so you can print and glue it into the fixed clamp as needed.
File 10 - Sliding dog - as above but with the tapered groove allowing for use with the hose holder sliding mount.
If there are any questions, answers will most likely be found in the following videos.
The pictures also describe these files better than my words.
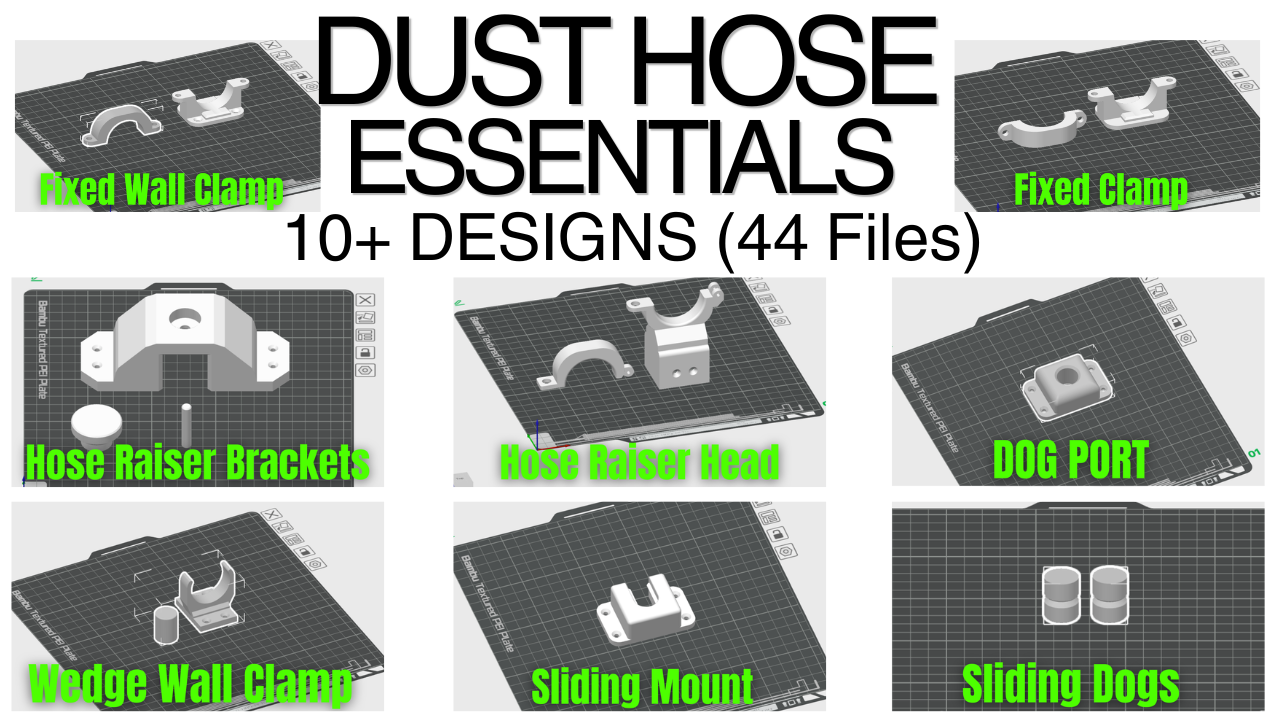 Image 1 of 26
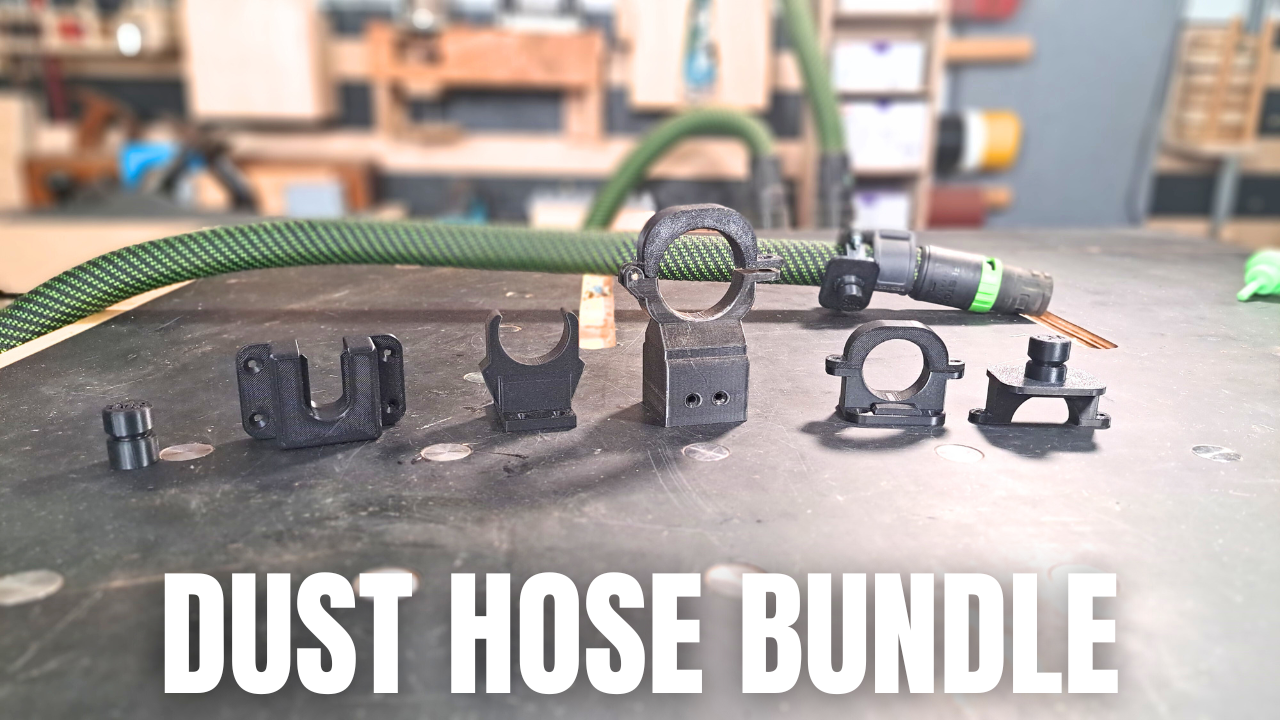 Image 2 of 26
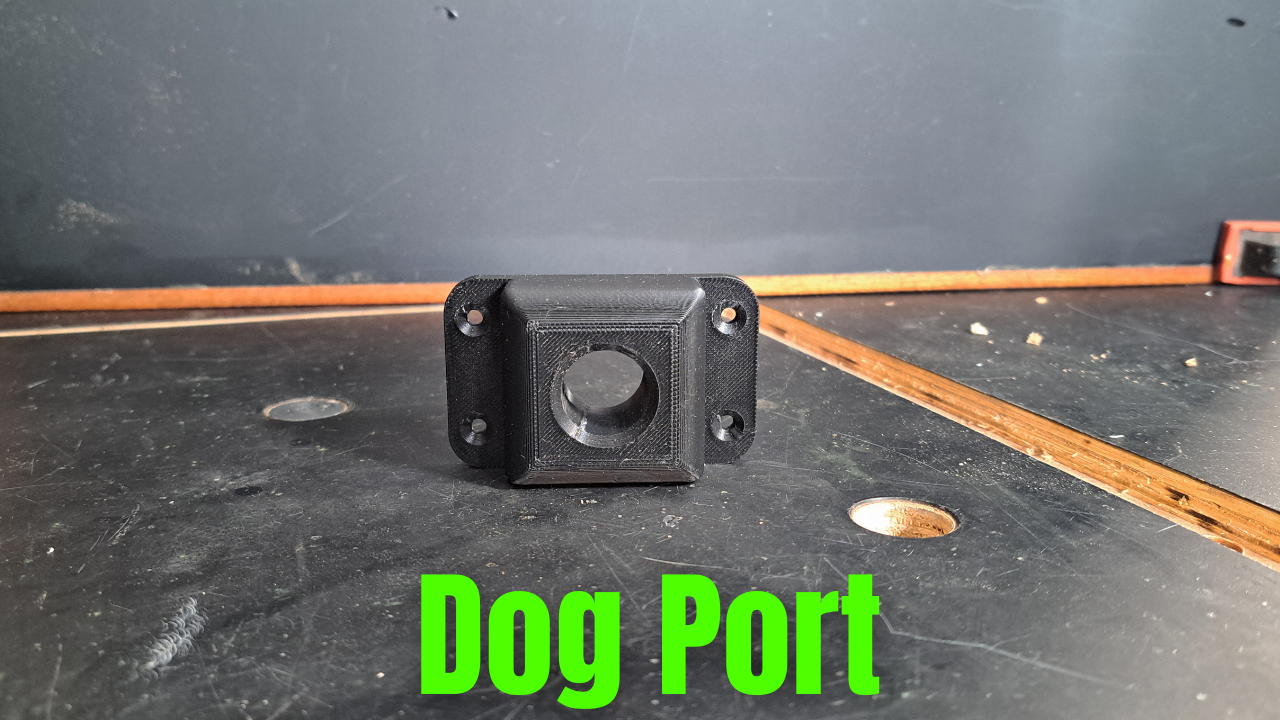 Image 3 of 26
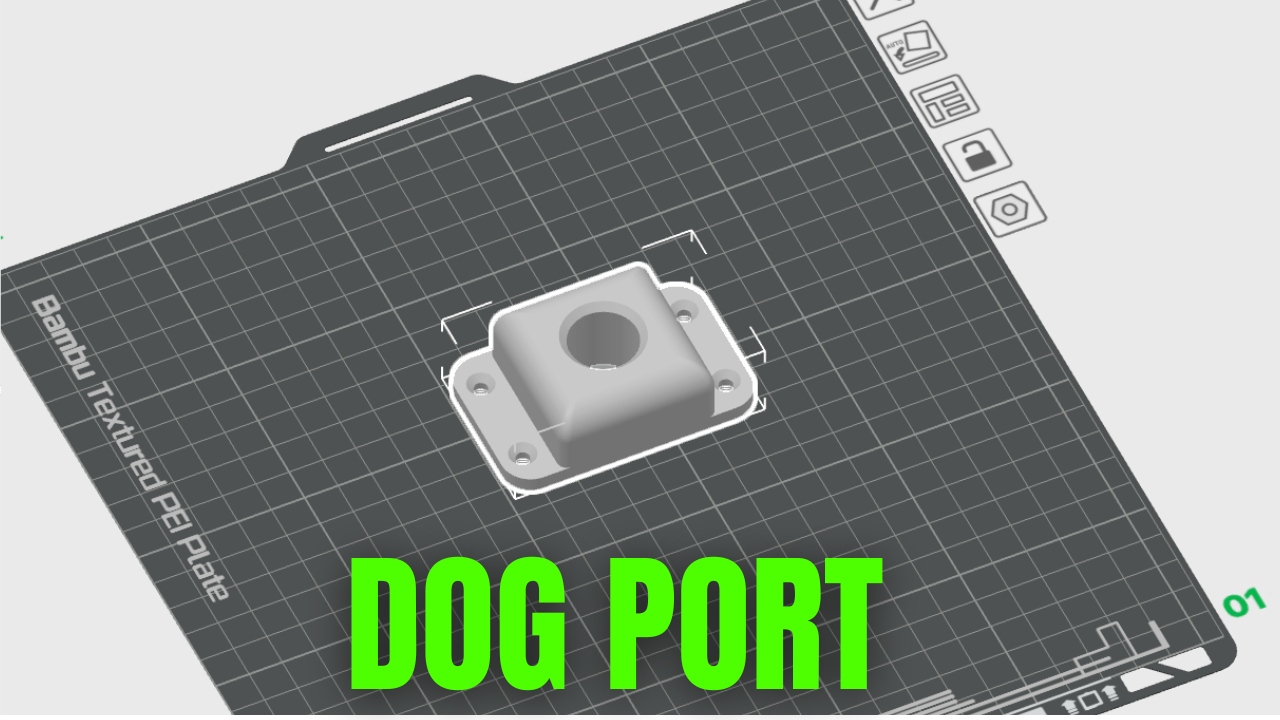 Image 4 of 26
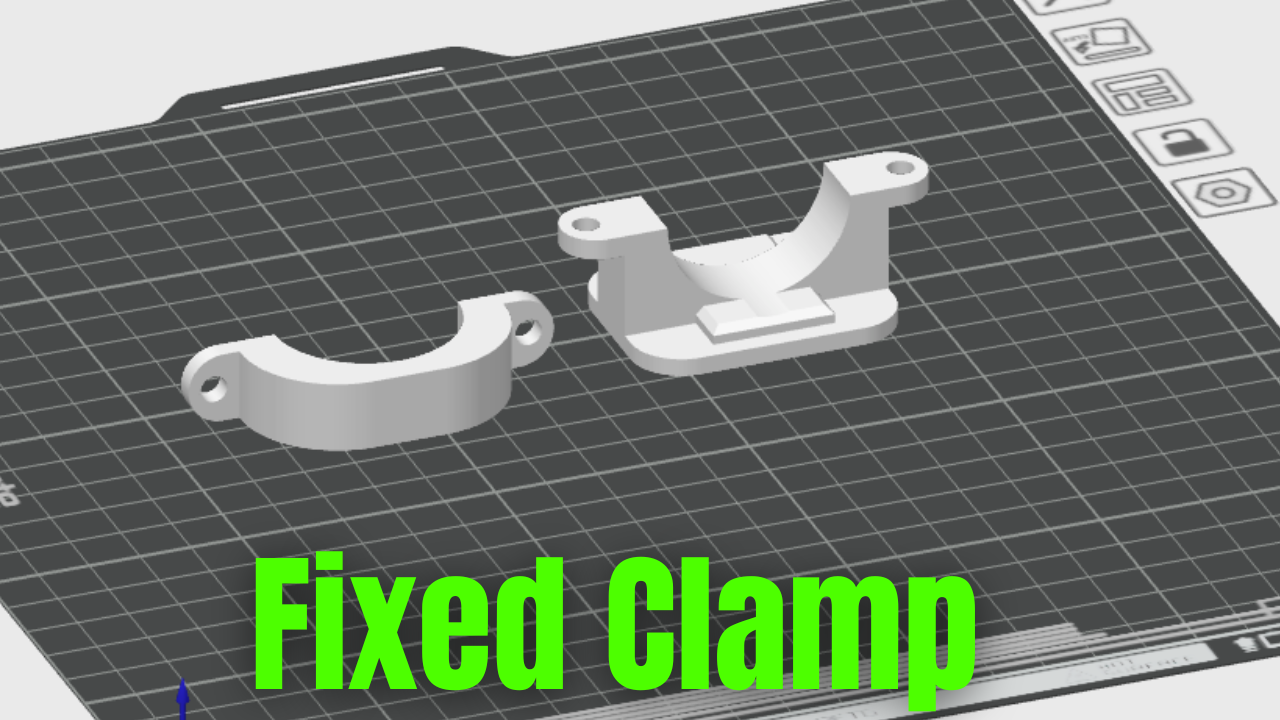 Image 5 of 26
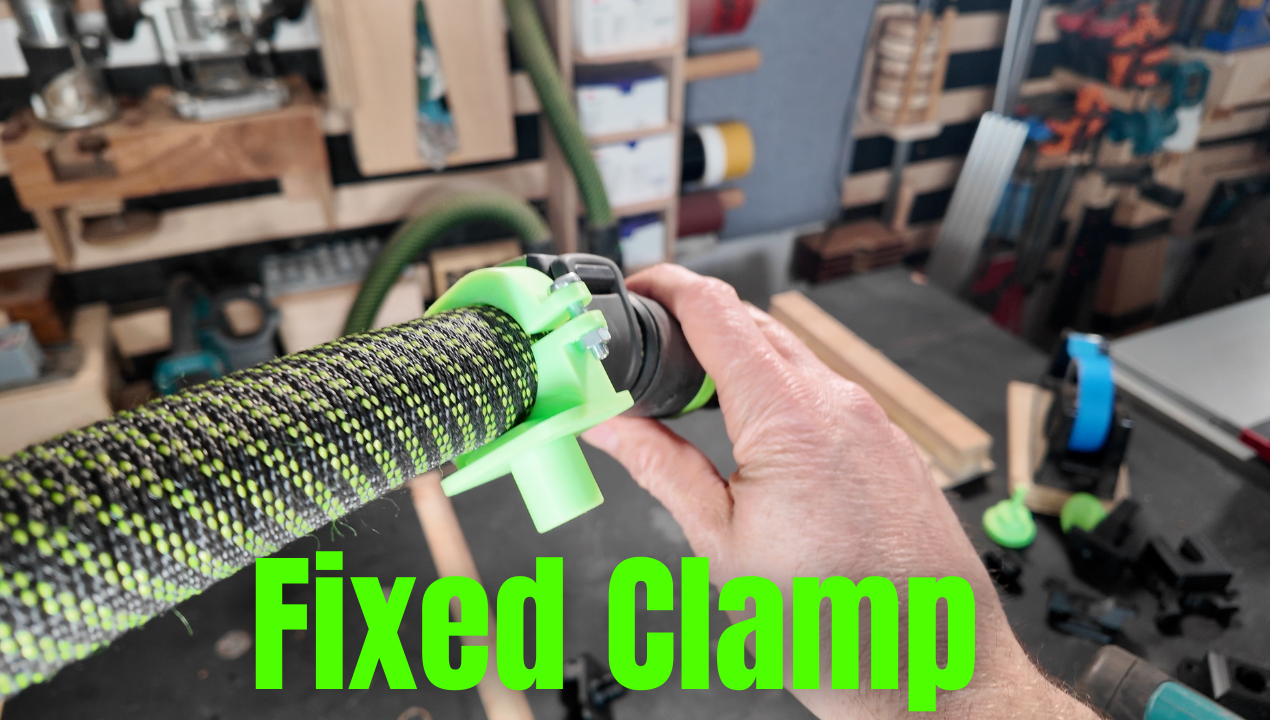 Image 6 of 26
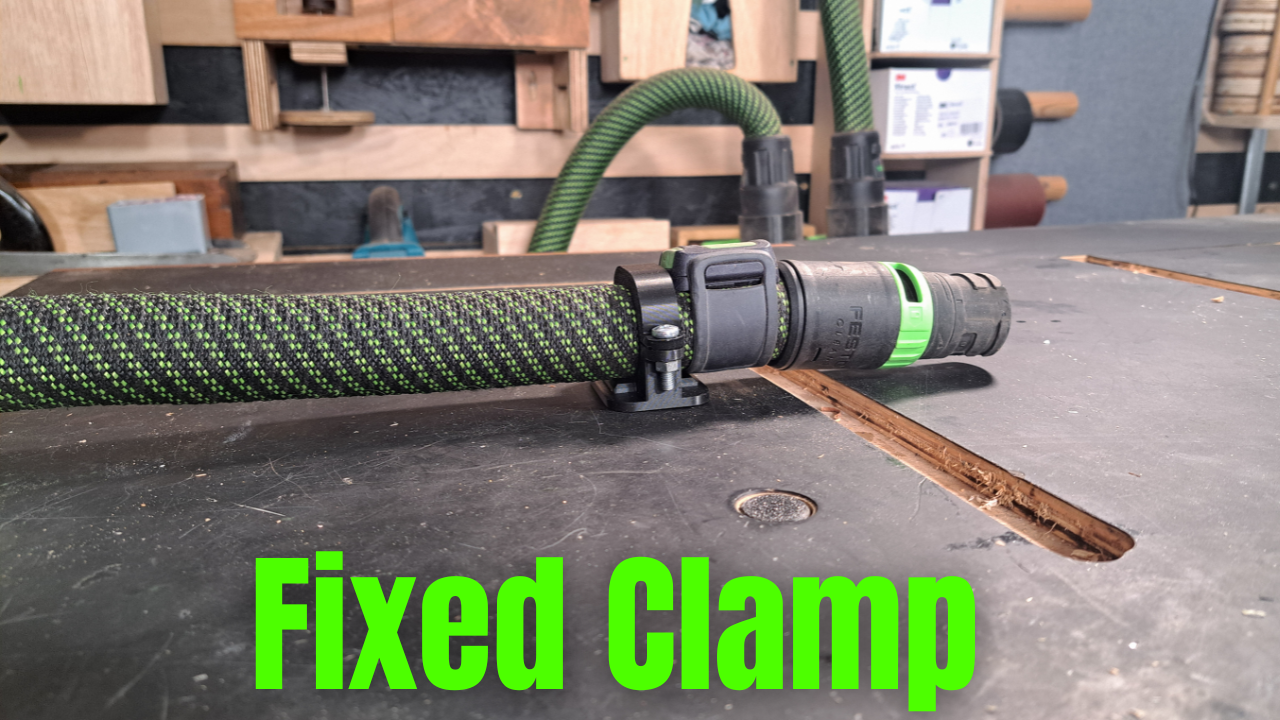 Image 7 of 26
 Image 8 of 26
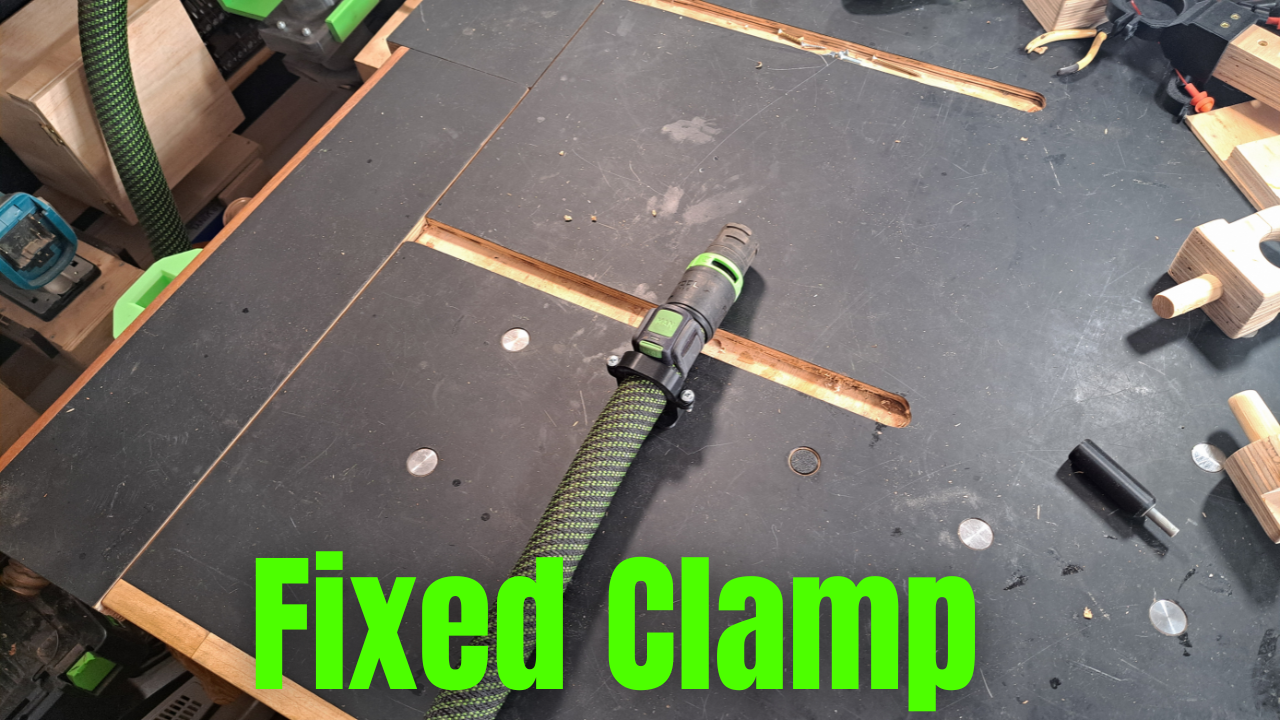 Image 9 of 26
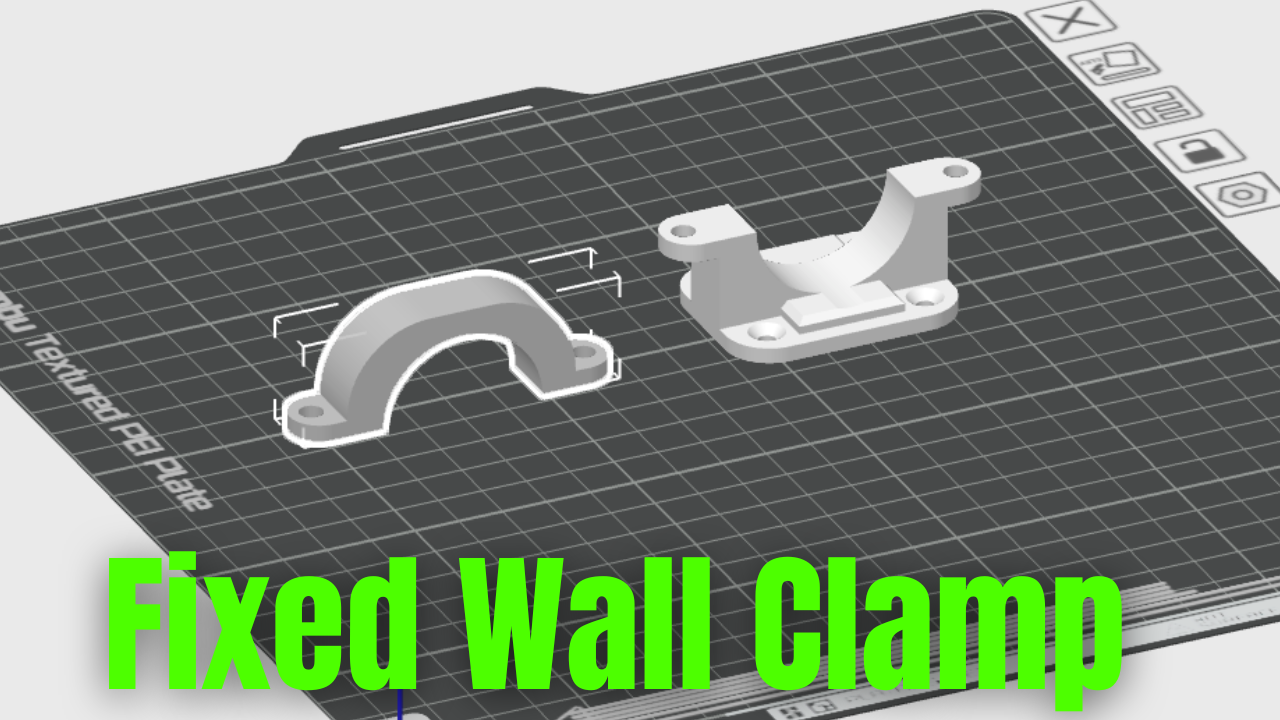 Image 10 of 26
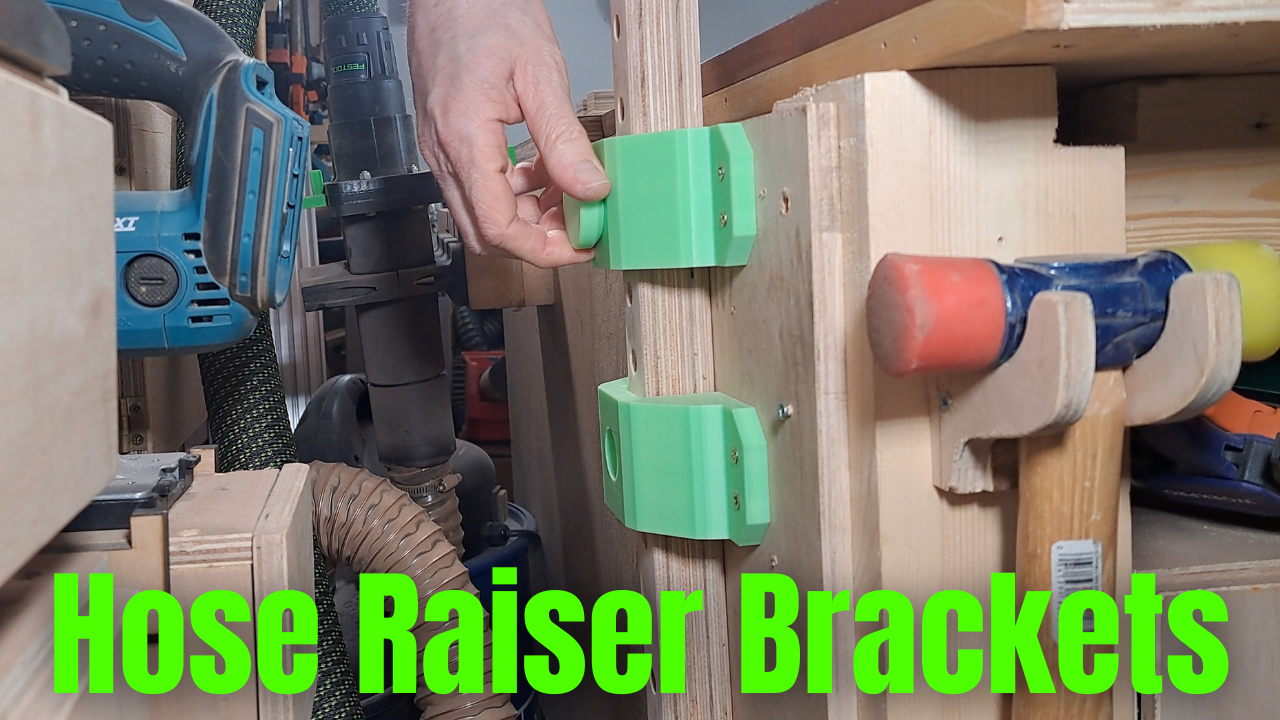 Image 11 of 26
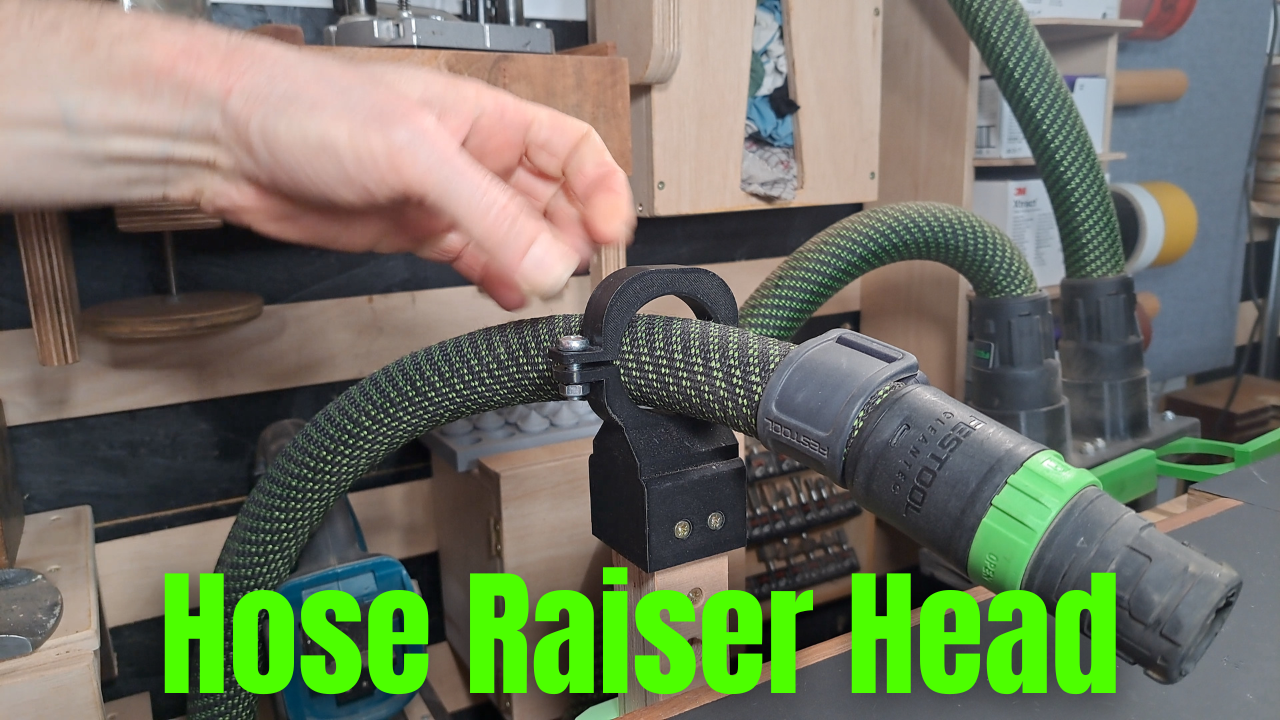 Image 12 of 26
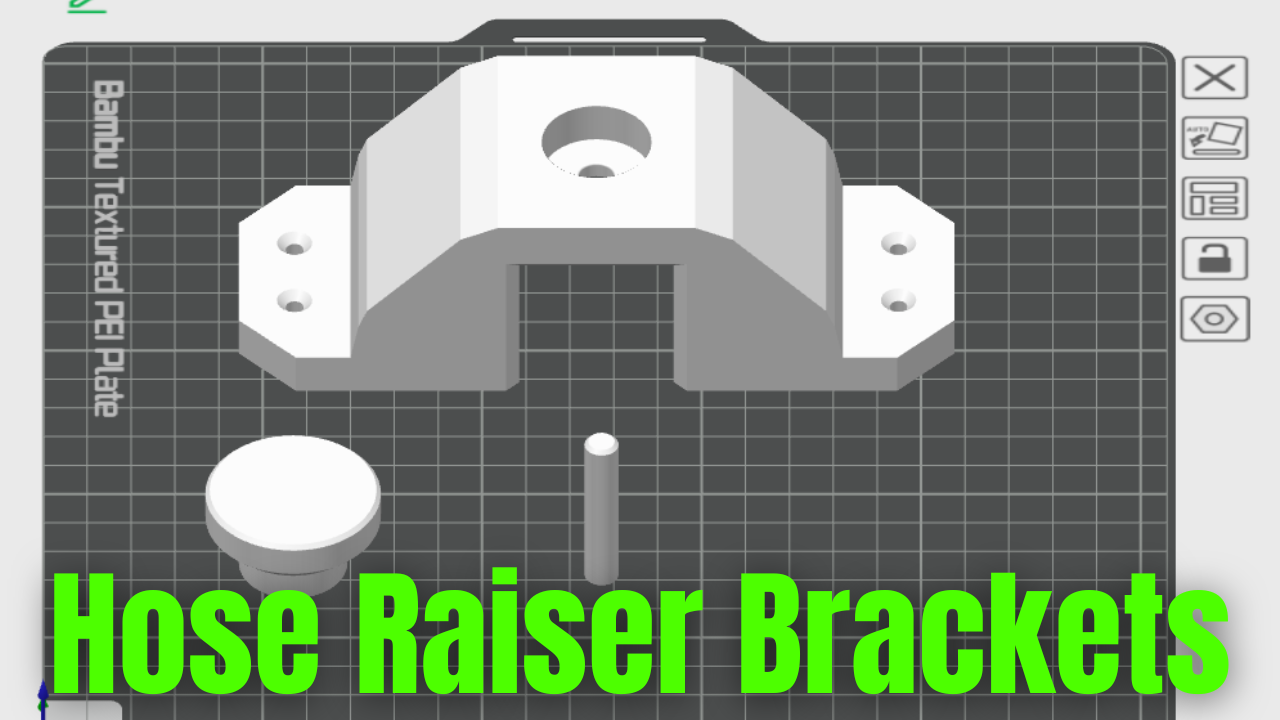 Image 13 of 26
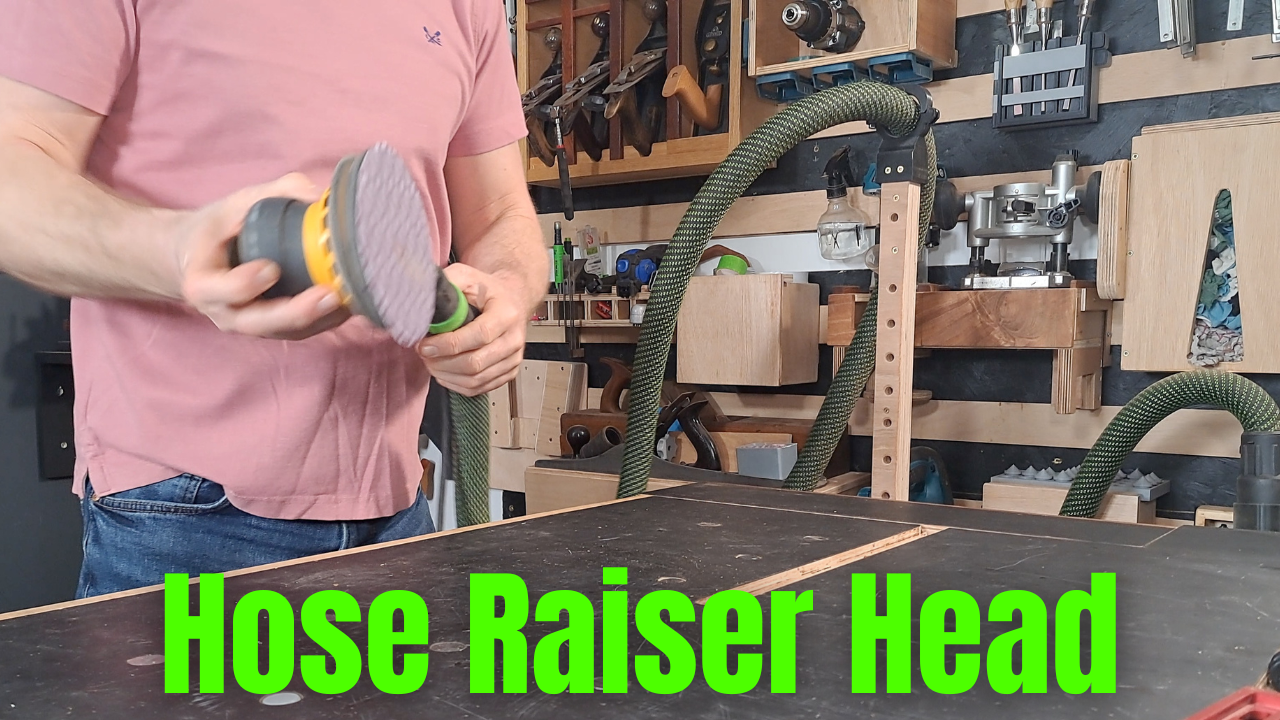 Image 14 of 26
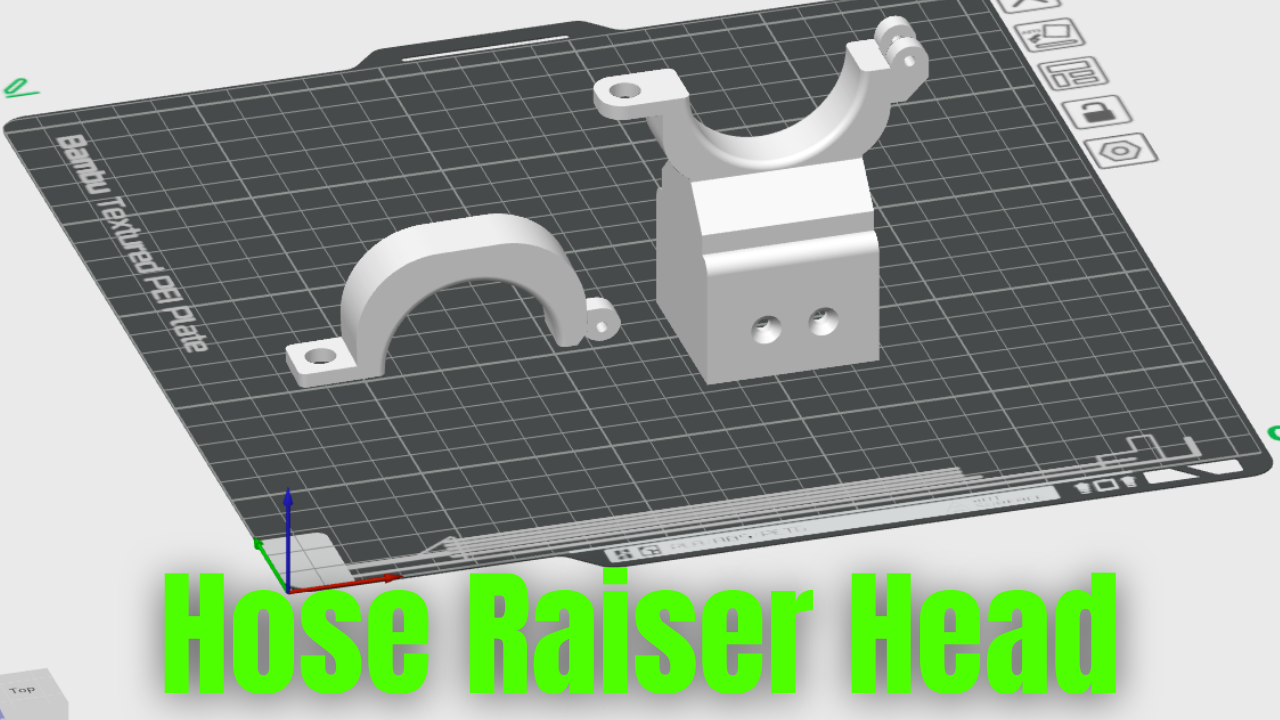 Image 15 of 26
 Image 16 of 26
 Image 17 of 26
 Image 18 of 26
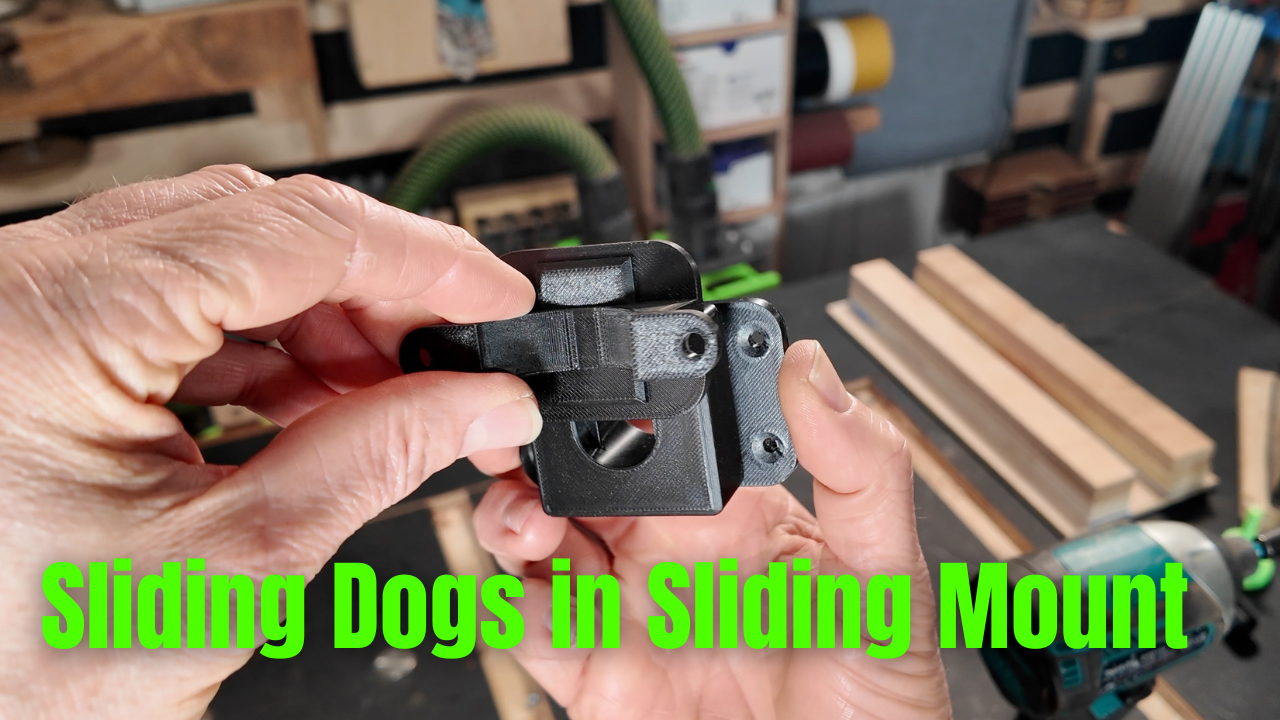 Image 19 of 26
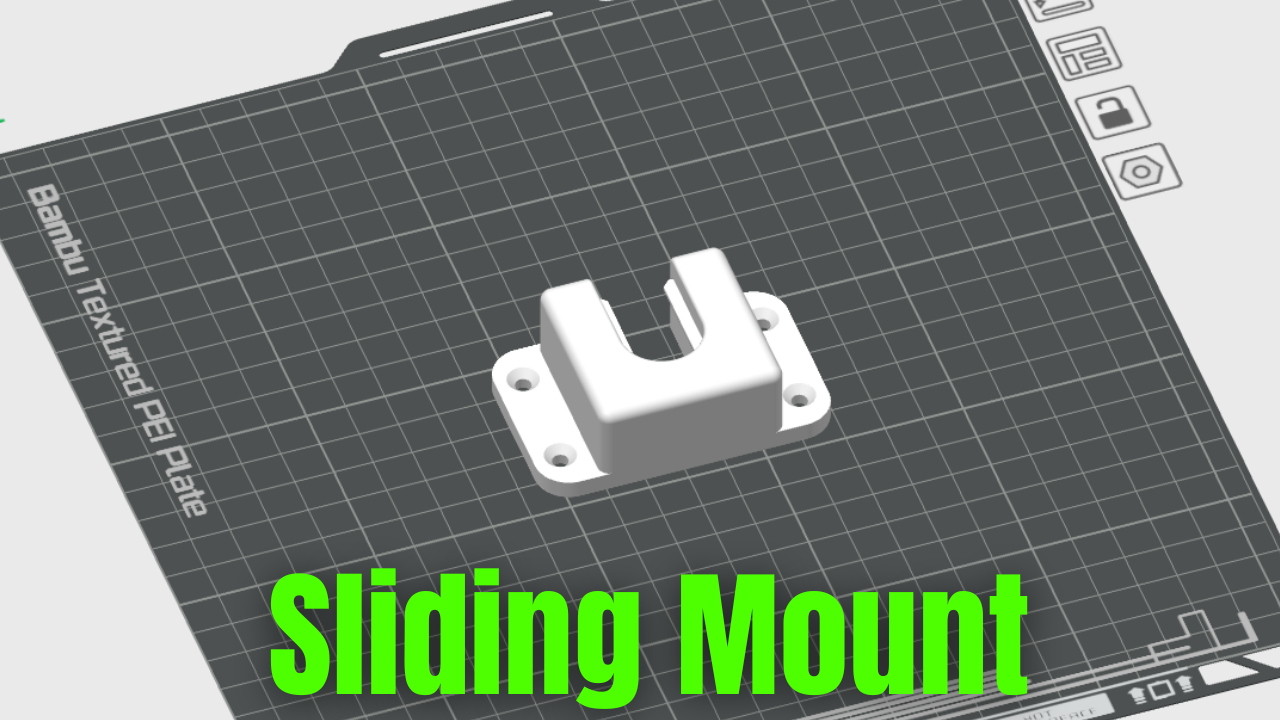 Image 20 of 26
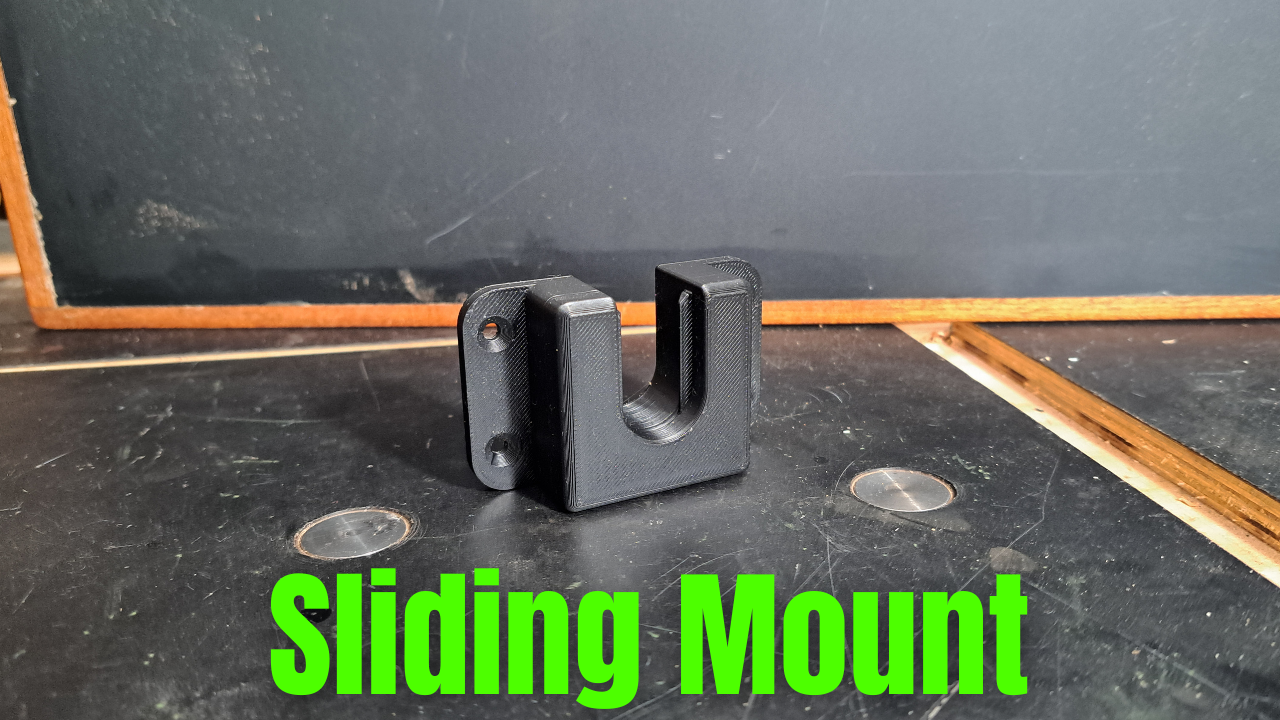 Image 21 of 26
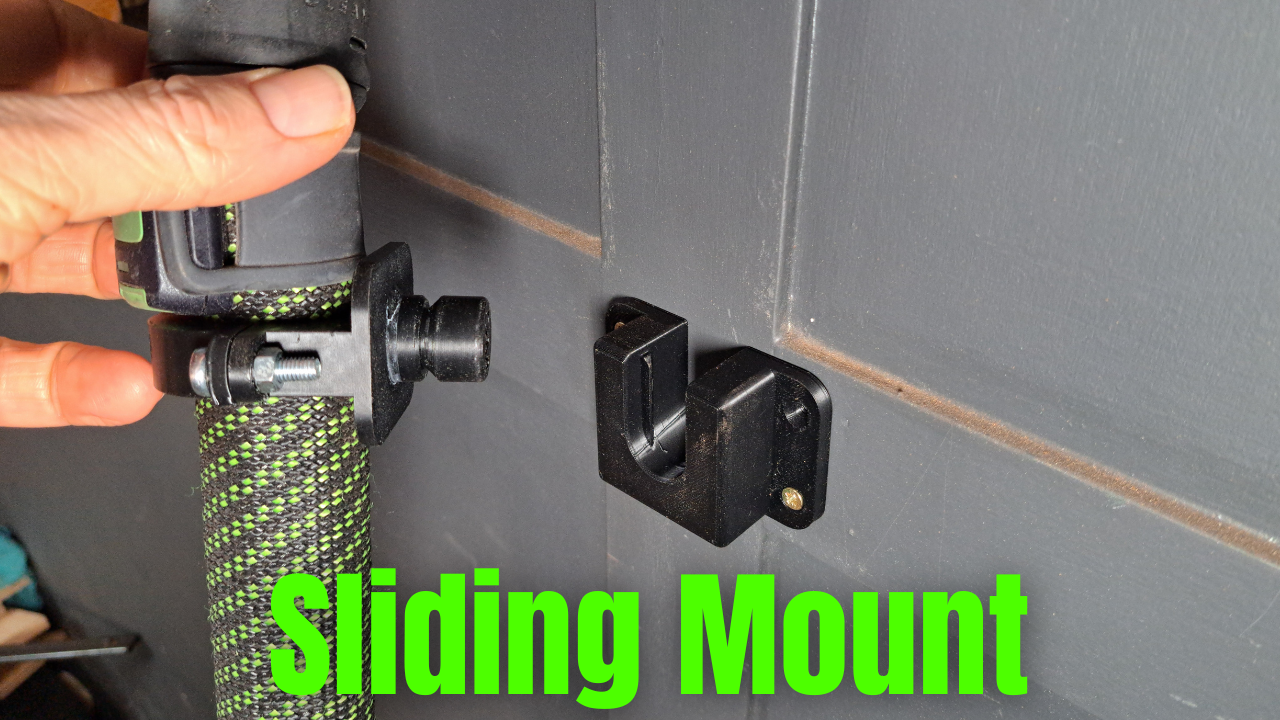 Image 22 of 26
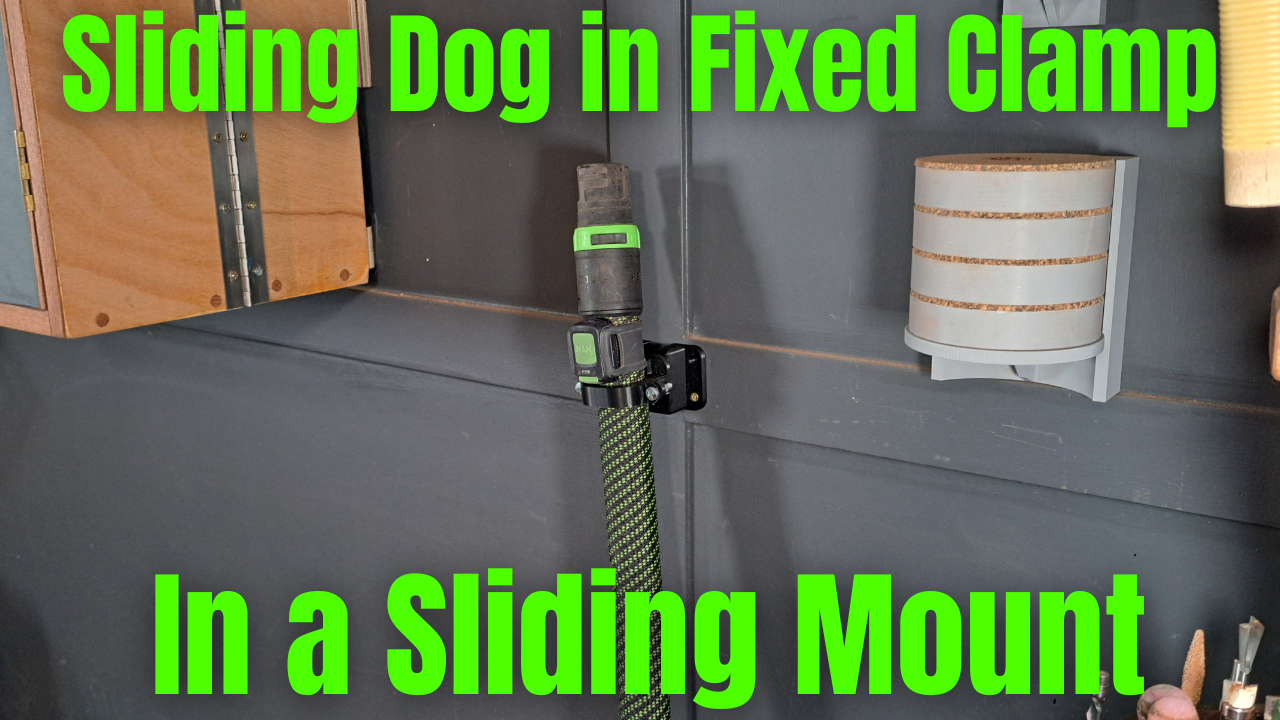 Image 23 of 26
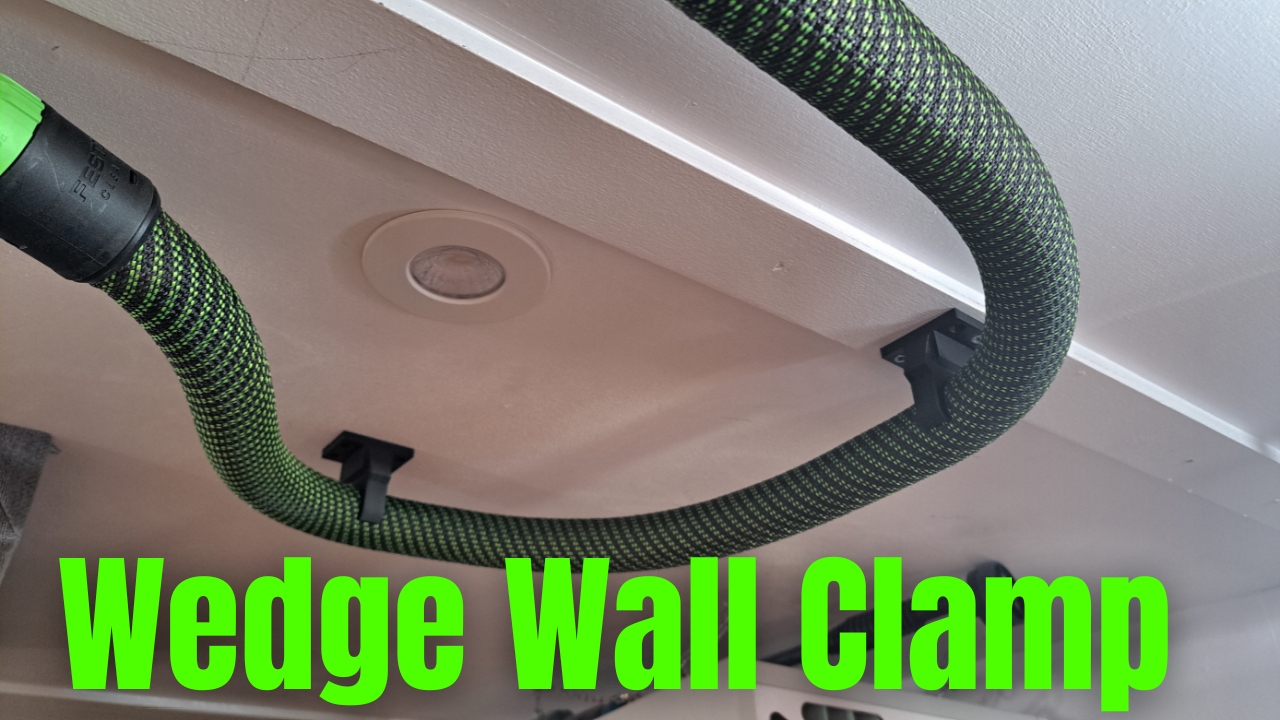 Image 24 of 26
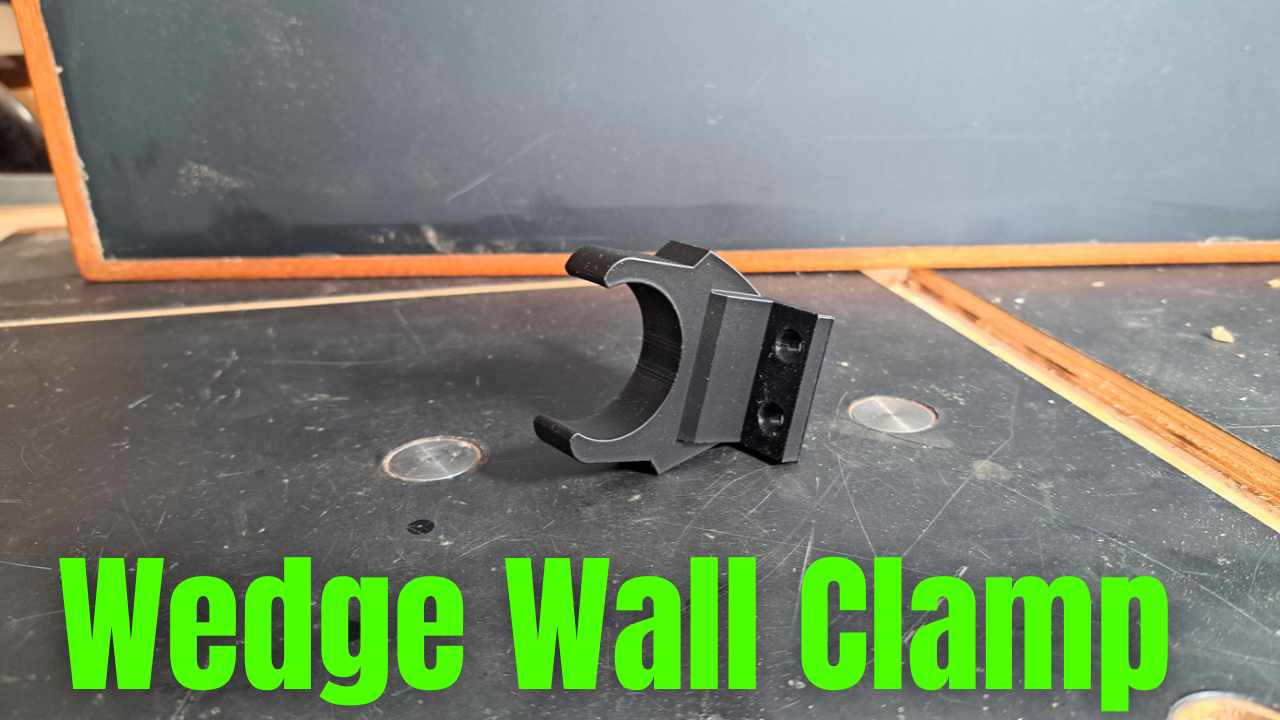 Image 25 of 26
 Image 26 of 26