Sale Price:
£10.00
Original Price:
£12.00
All the files you need to have not only the standard French cleat brackets, but also the extended ones designed to give more support, and the best part, the clamp holder cleat brackets, both thick and thin.
These are designed to work with 1/2 inch plywood French cleats, (12mm)
The Wall cleat batons can be up to 50mm wide for these to work.
For the Clamp brackets there is also a full set of spacers available to ensure your clamps are supported perfectly. See the description below.
Please note that the standard and extended brackets are designed to be used with light weight tool holders and shelves due to the fact that unlike wooden ones they can only be screwed to the holder rather than glued and screwed. That said, CA glue will attach these to the holder if you print in PETG.
For all of the files I recommend 4 walls and 25% infill. But feel free to increase the numbers of you require more strength expecially with the longer extended and clamp brackets.
Files included.
File 1 - Standard Cleat.
As described this is the smallest of the bundle, a simple design with 3 screw holes for easy attachment. Apply one to each side of the holder you wish to hang ensuring that the back of the holder lines up to the flat back part of the brackets. If the brackets are level then the work is done.
File 2 - Extended Cleat Bracket.
As above but with additional length to provide more support. I use these for holders that project further from the wall. You could cut these if you dont require the entire extension.
File 3 - Clamp Holder Cleat Bracket.
These are almost identical to the extended cleats but have additional raised ends to stop f style and squeezer clamps from falling off the front.
You can also use them to hold hammers, draw knives, brooms, etc.
Print a pair and where the other brackets are attached with the countersink hole on the outside, these are used with the countersinks facing inwards. The purpose of this is to align the spacer blocks, description below. I advise you choose the spacer block, larger but as close as possible to the width of the bar of the clamp you wish to store, that way you get the most support and the clamps will not swing from side to side. Each spacer has raised nobbles to fit inside the clamps. See the picture on the page for alignment. NB the extended part of the spacer follows the extension of the bracket away from the wall.
Spacers are attached with an appropriate glue for the filament used. For PETG I have used CA glue.
File 4 - Thick Clamp Holder Cleat Bracket.
Identical to the Clamp Holder Cleat bracket but thicker. I found that File 3 was the best for filament use but tended to bend slightly away at the tips when 6 clamps were stored. So these thicker ones offer less bend and more stability.
File 5 - Spacers.
There are a number of spacer blocks designed to be used with the clamp brackets.
They cover the following thicknesses.
10mm
12mm
14mm
16mm
18mm
20mm
22mm
24mm
29mm
35mm
40mm
All cleat brackets have a lower stabilising part that also doubles as a method of locking the cleat to the wall baton. A simple wedge between the lower part of the wall baton and the cleat stabiliser will do the job. These are not provided as every cleat width will be different. I cut mine from scrap plywood.
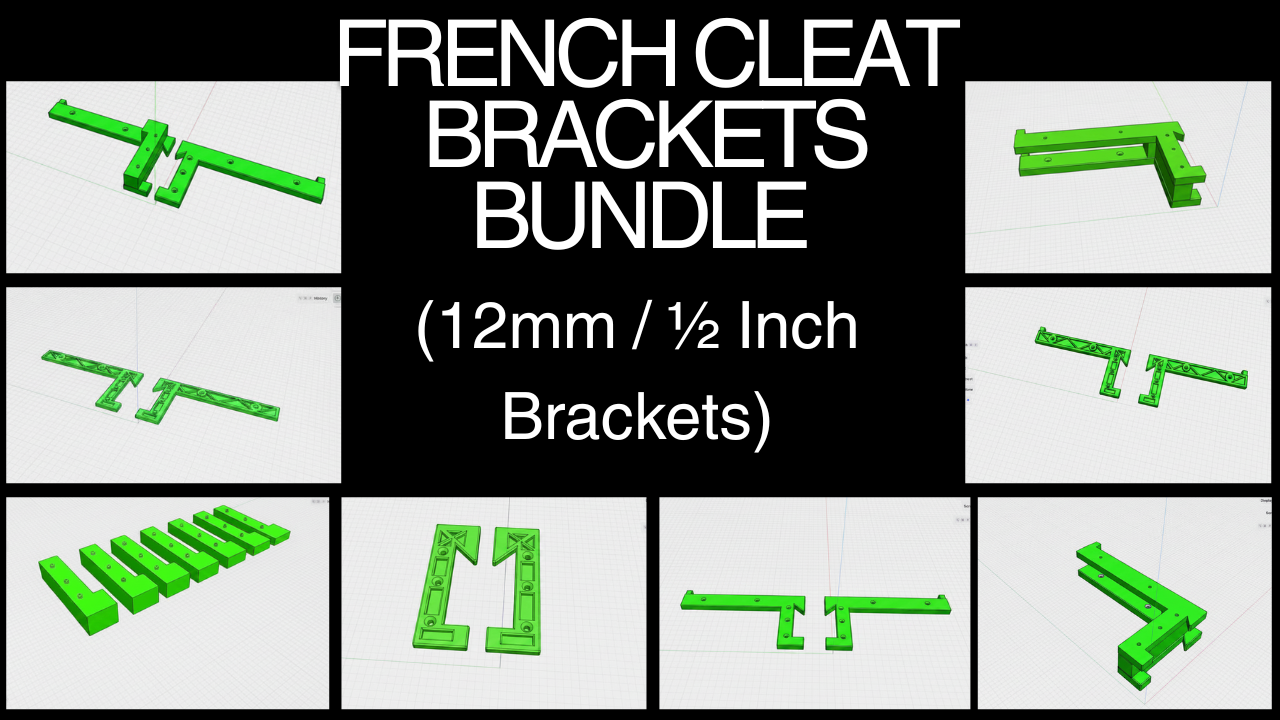 Image 1 of 18
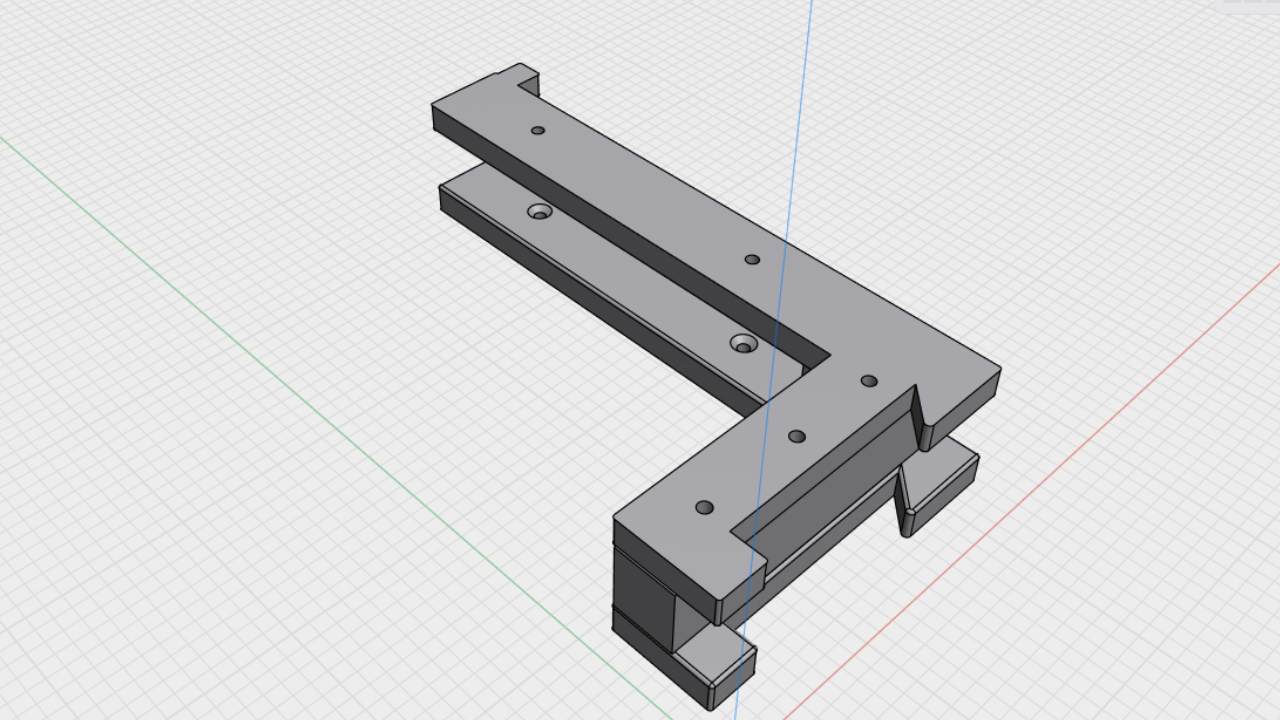 Image 2 of 18
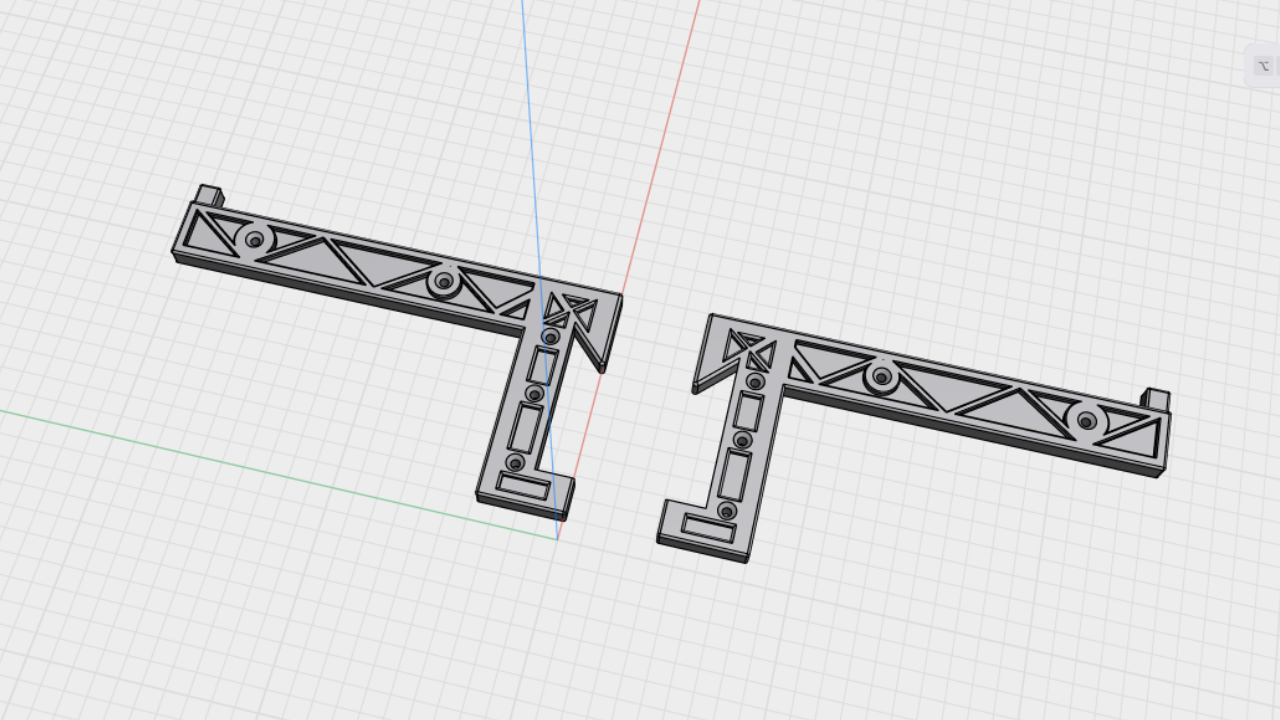 Image 3 of 18
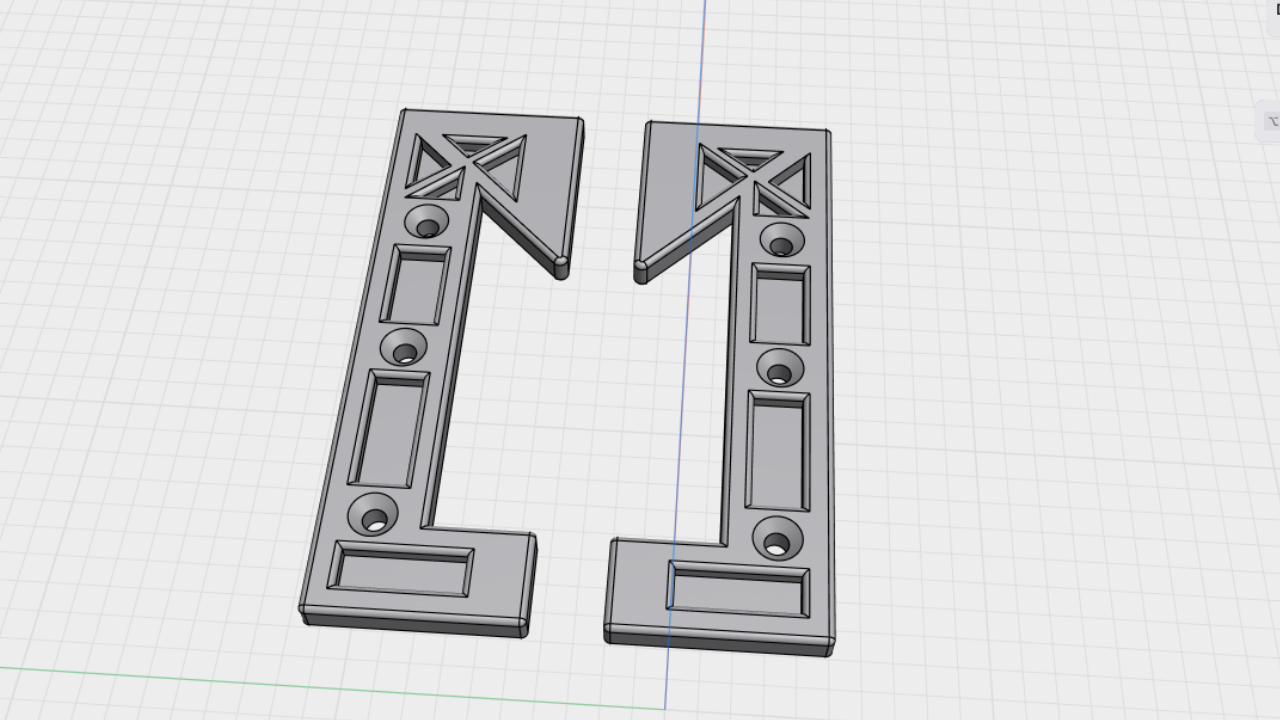 Image 4 of 18
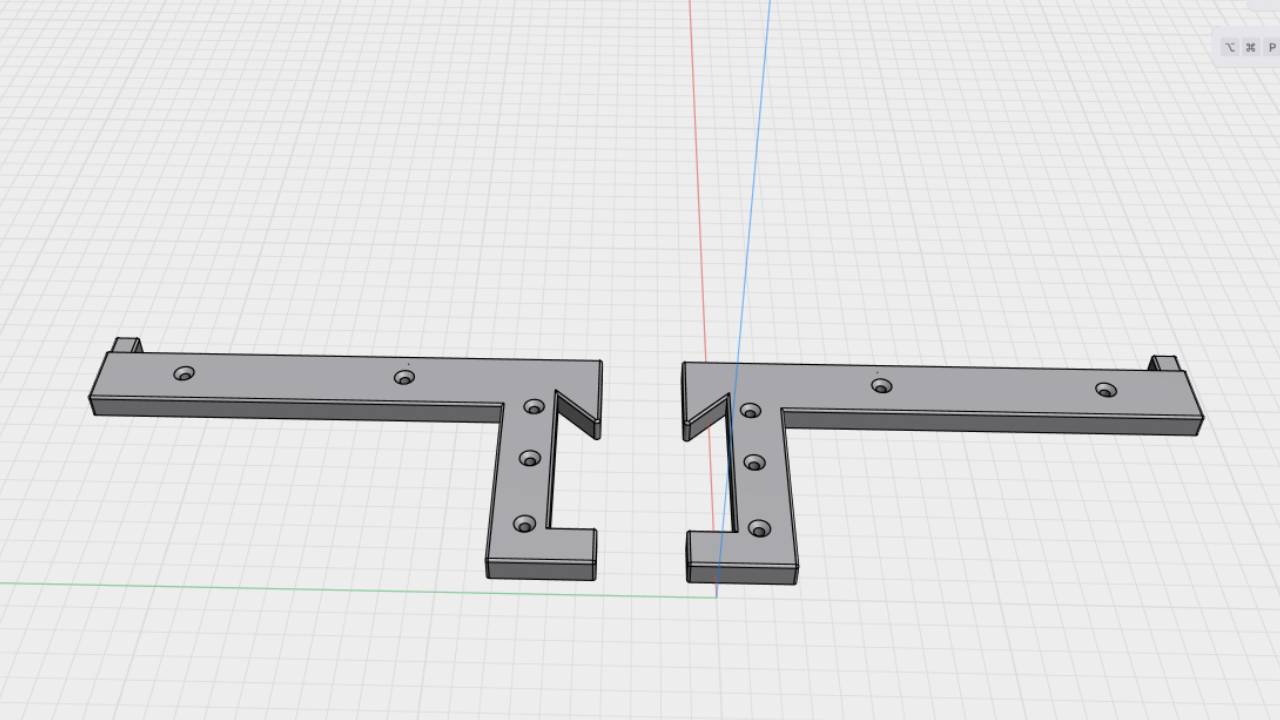 Image 5 of 18
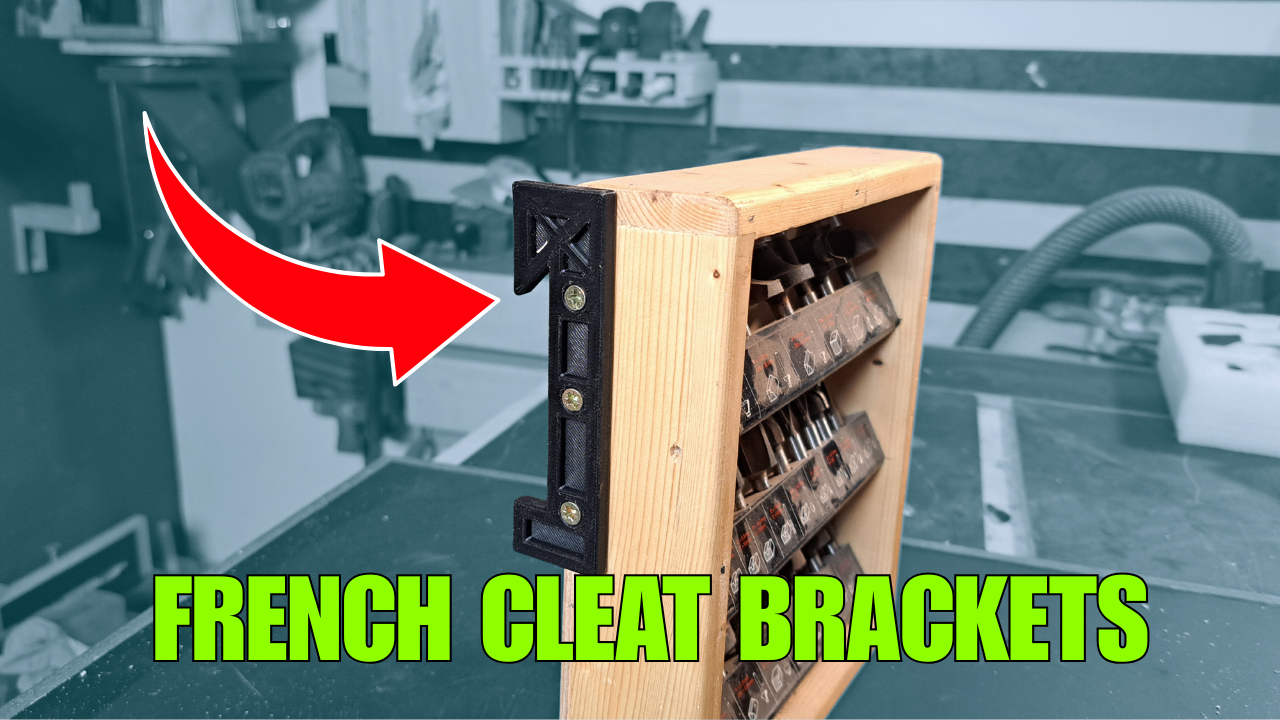 Image 6 of 18
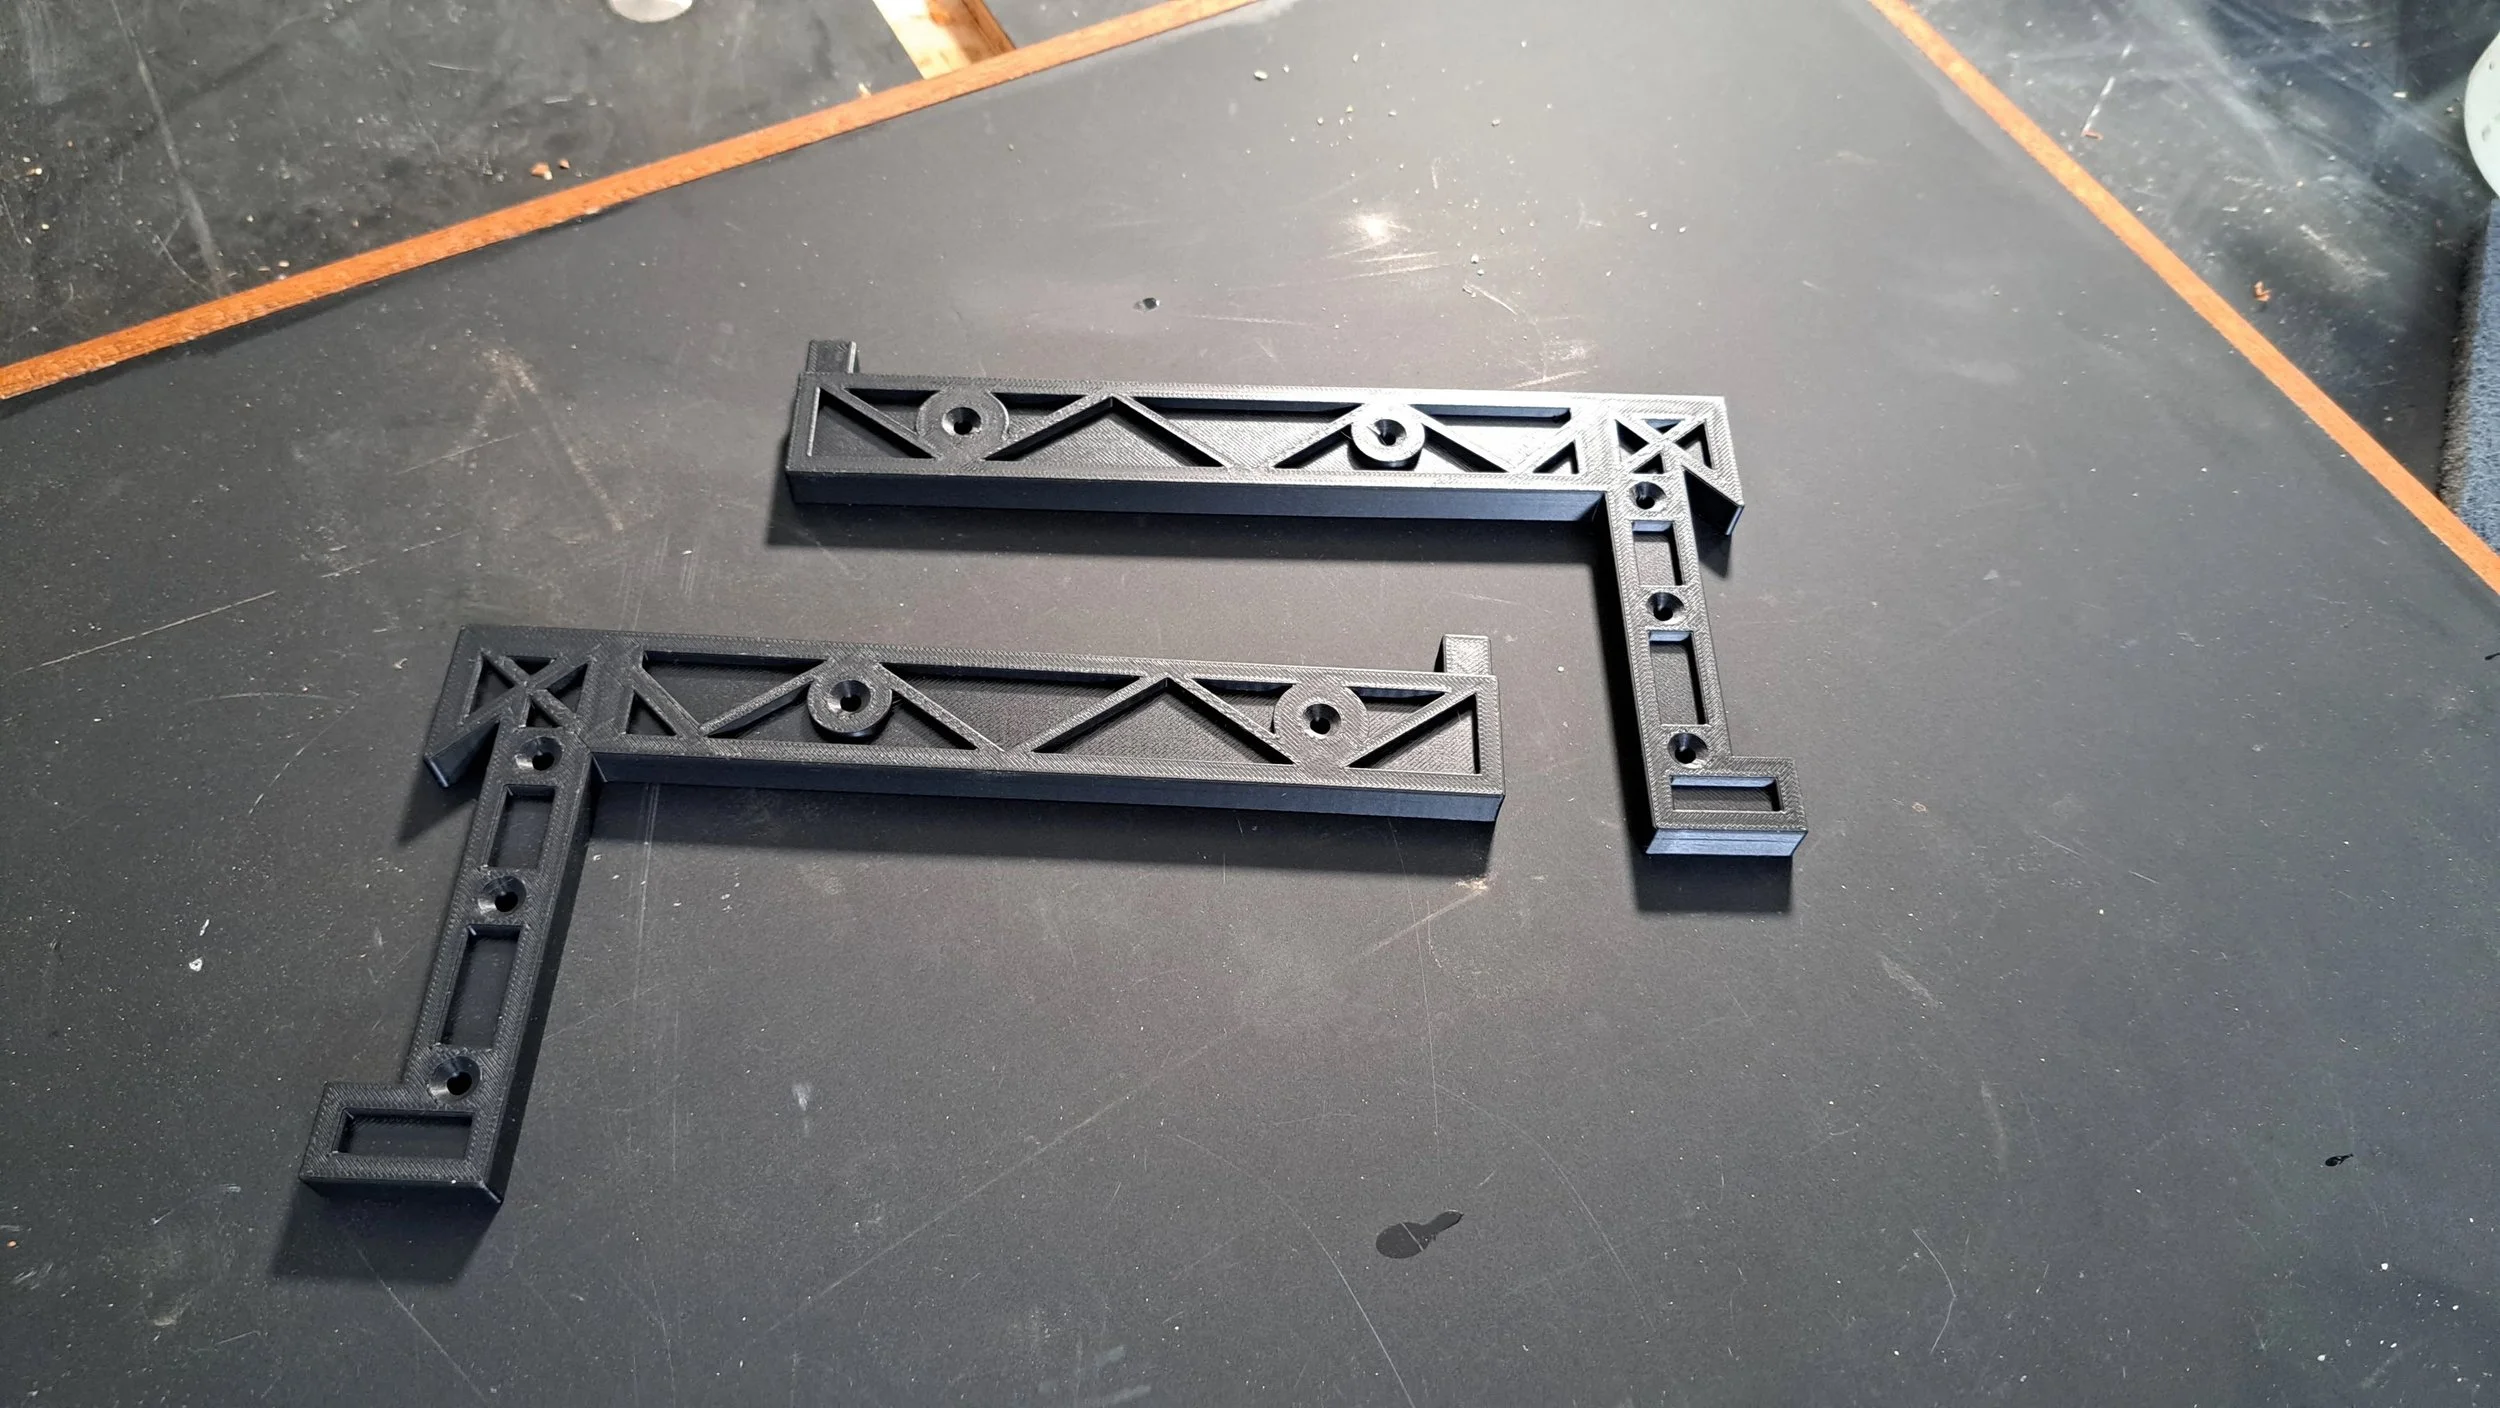 Image 7 of 18
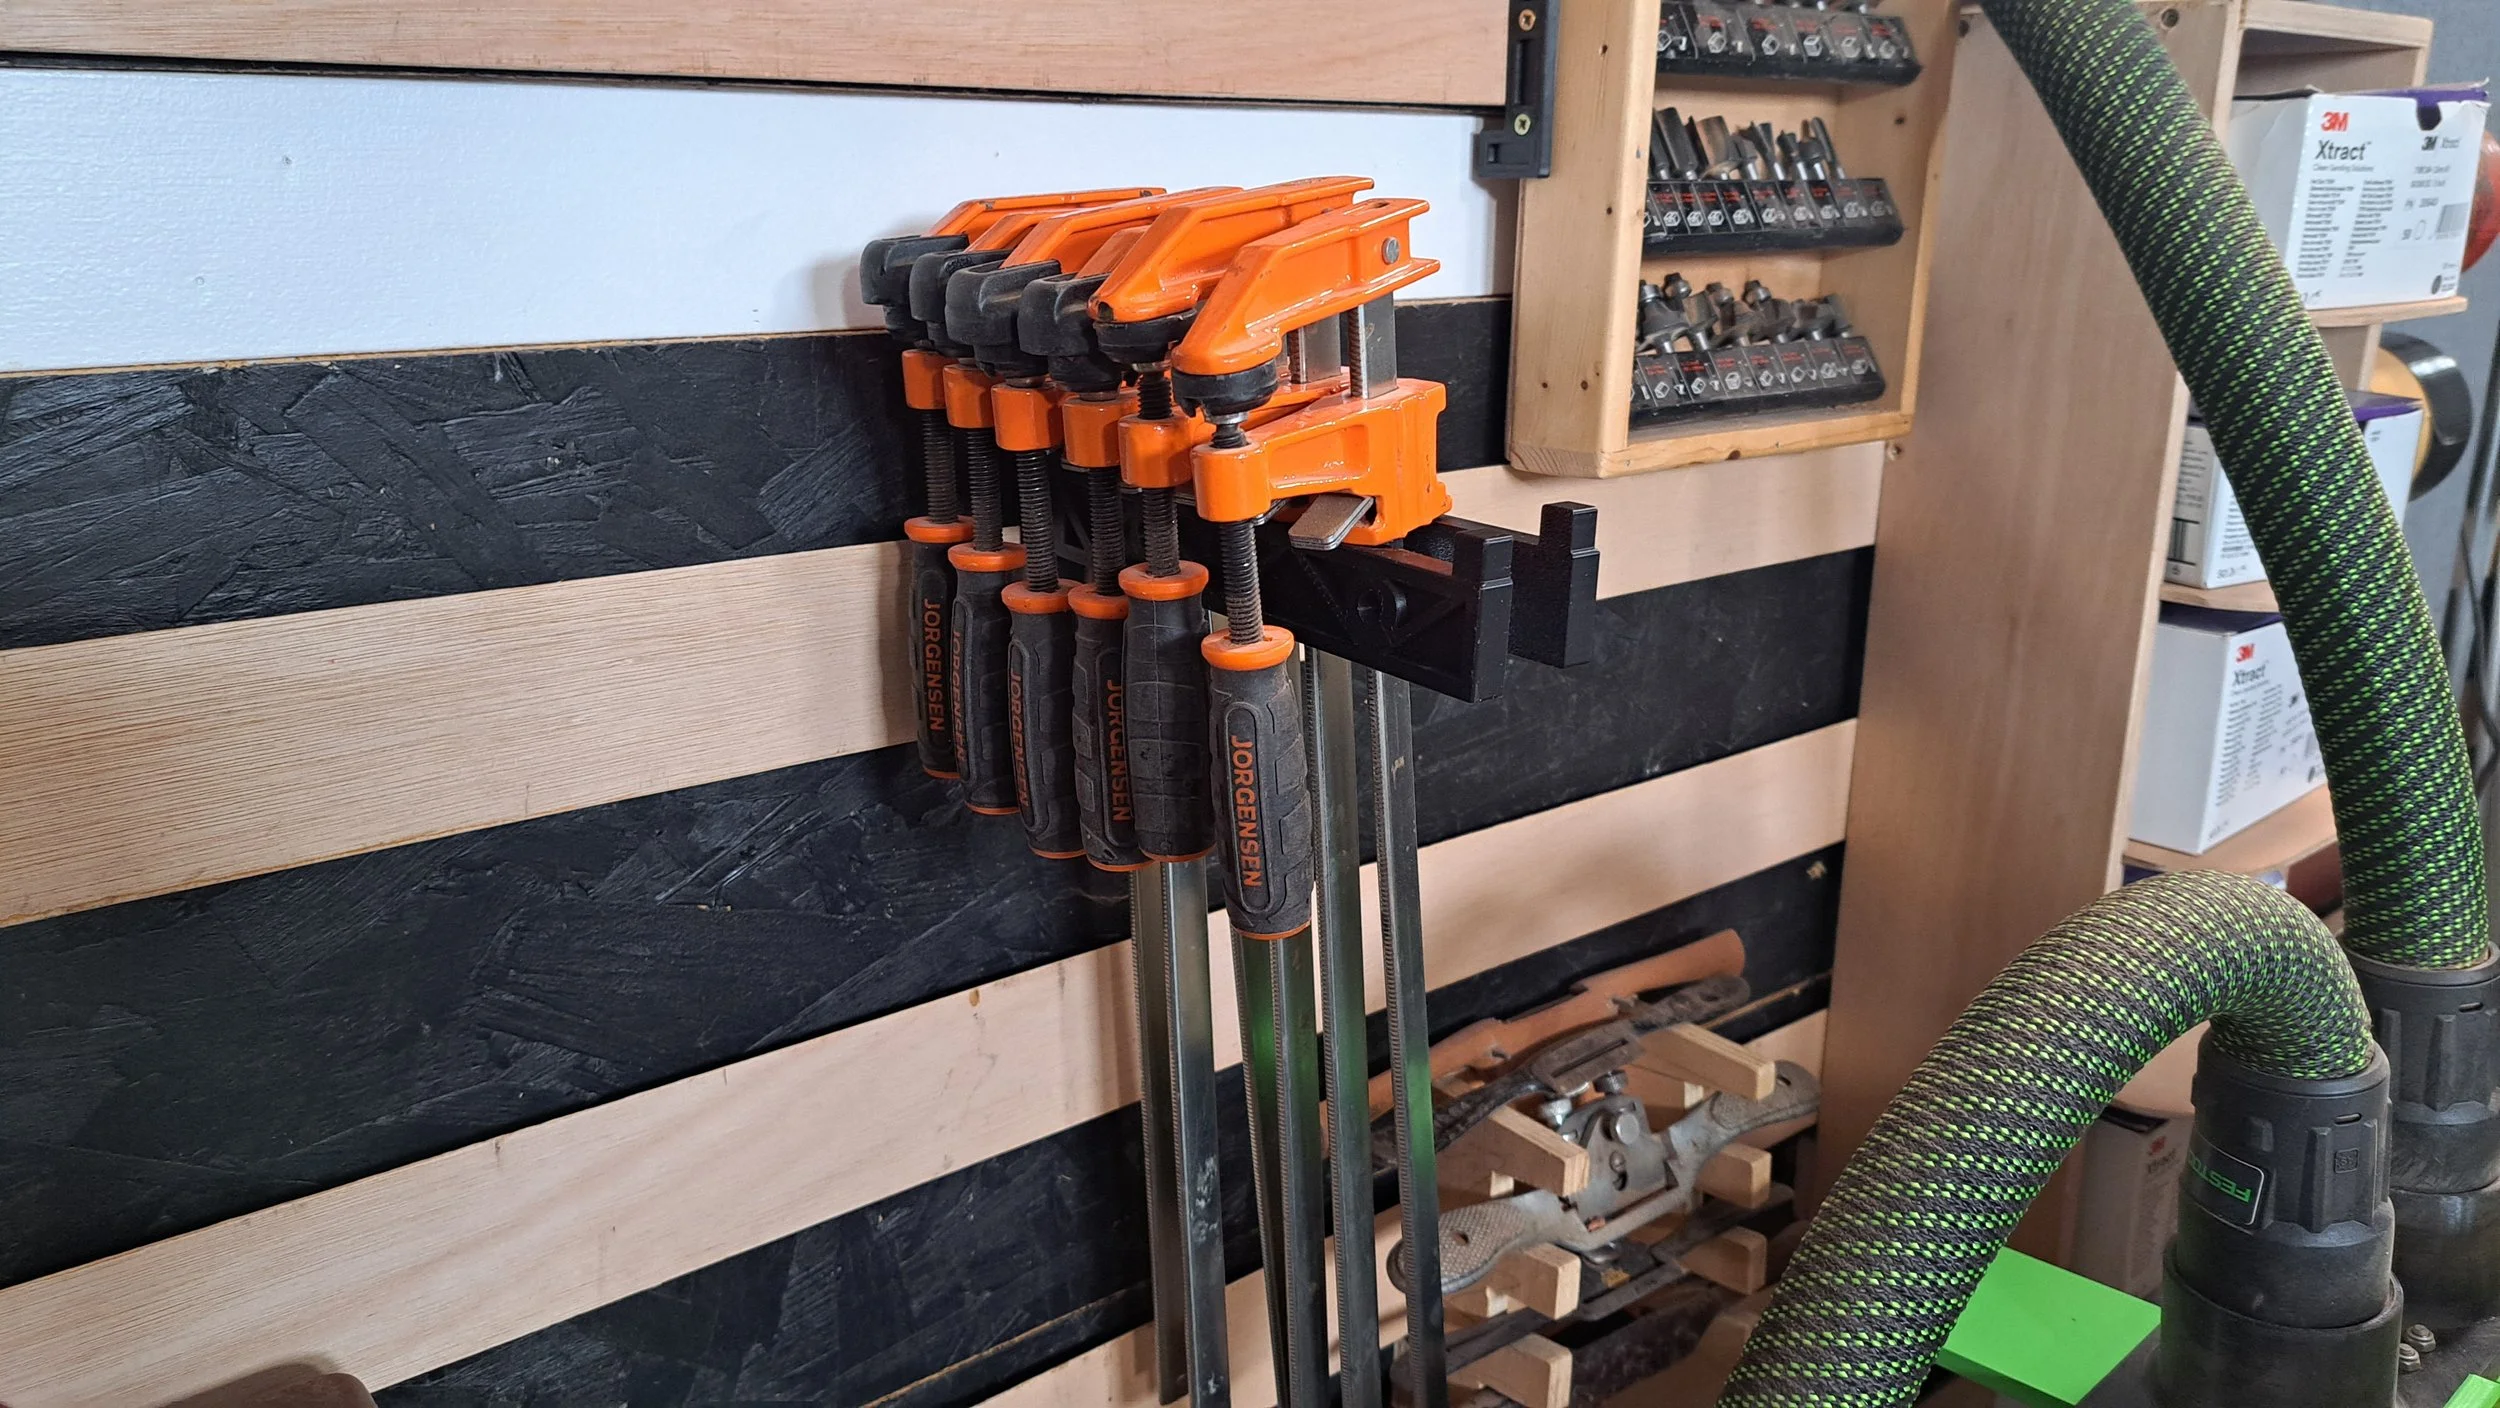 Image 8 of 18
 Image 9 of 18
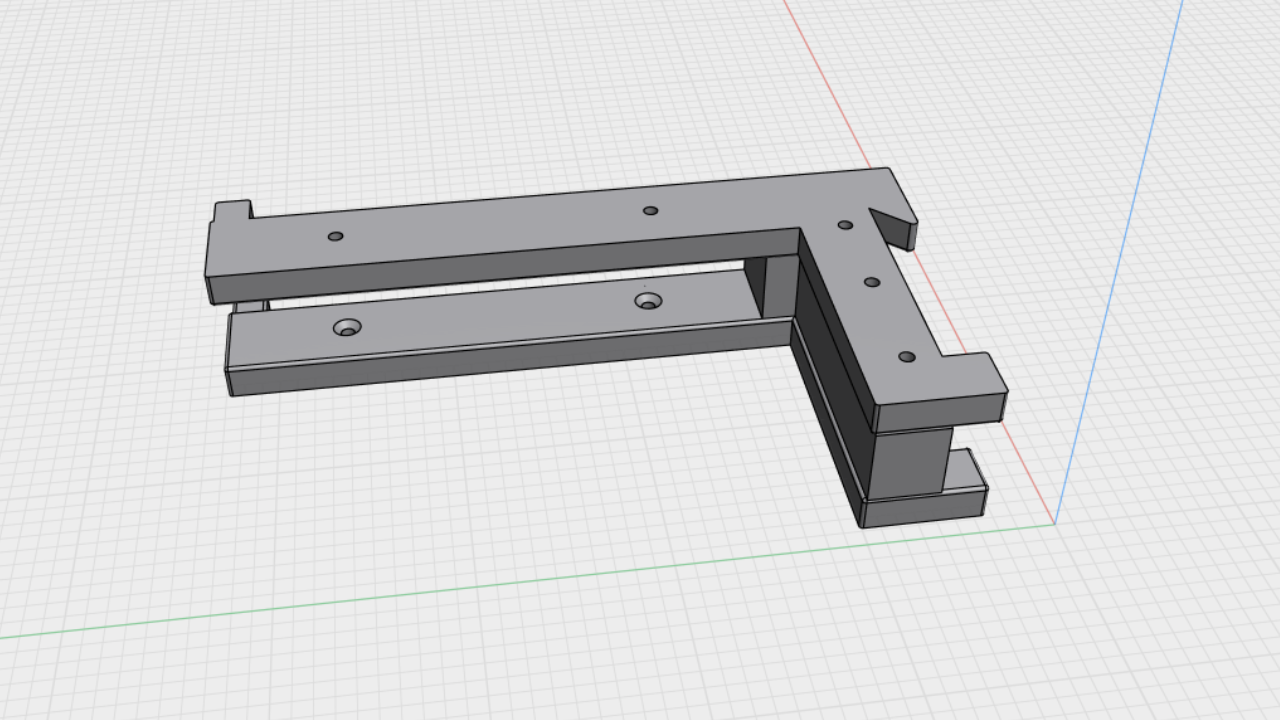 Image 10 of 18
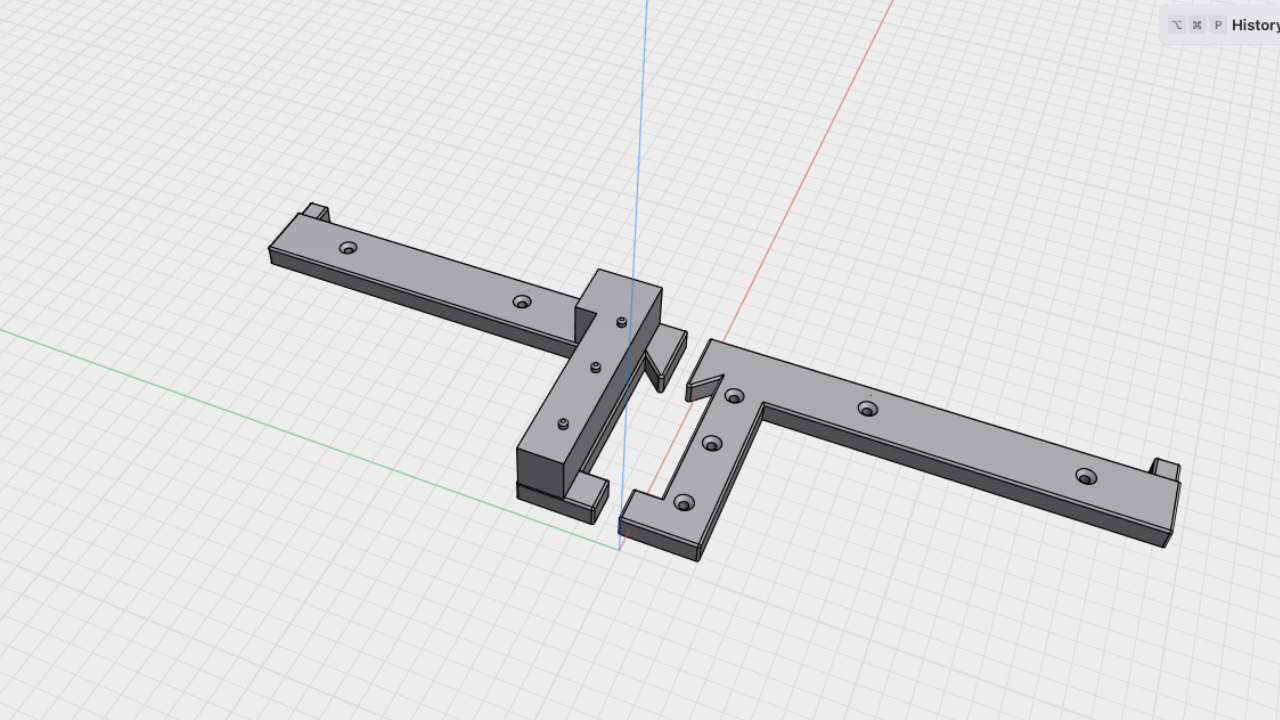 Image 11 of 18
 Image 12 of 18
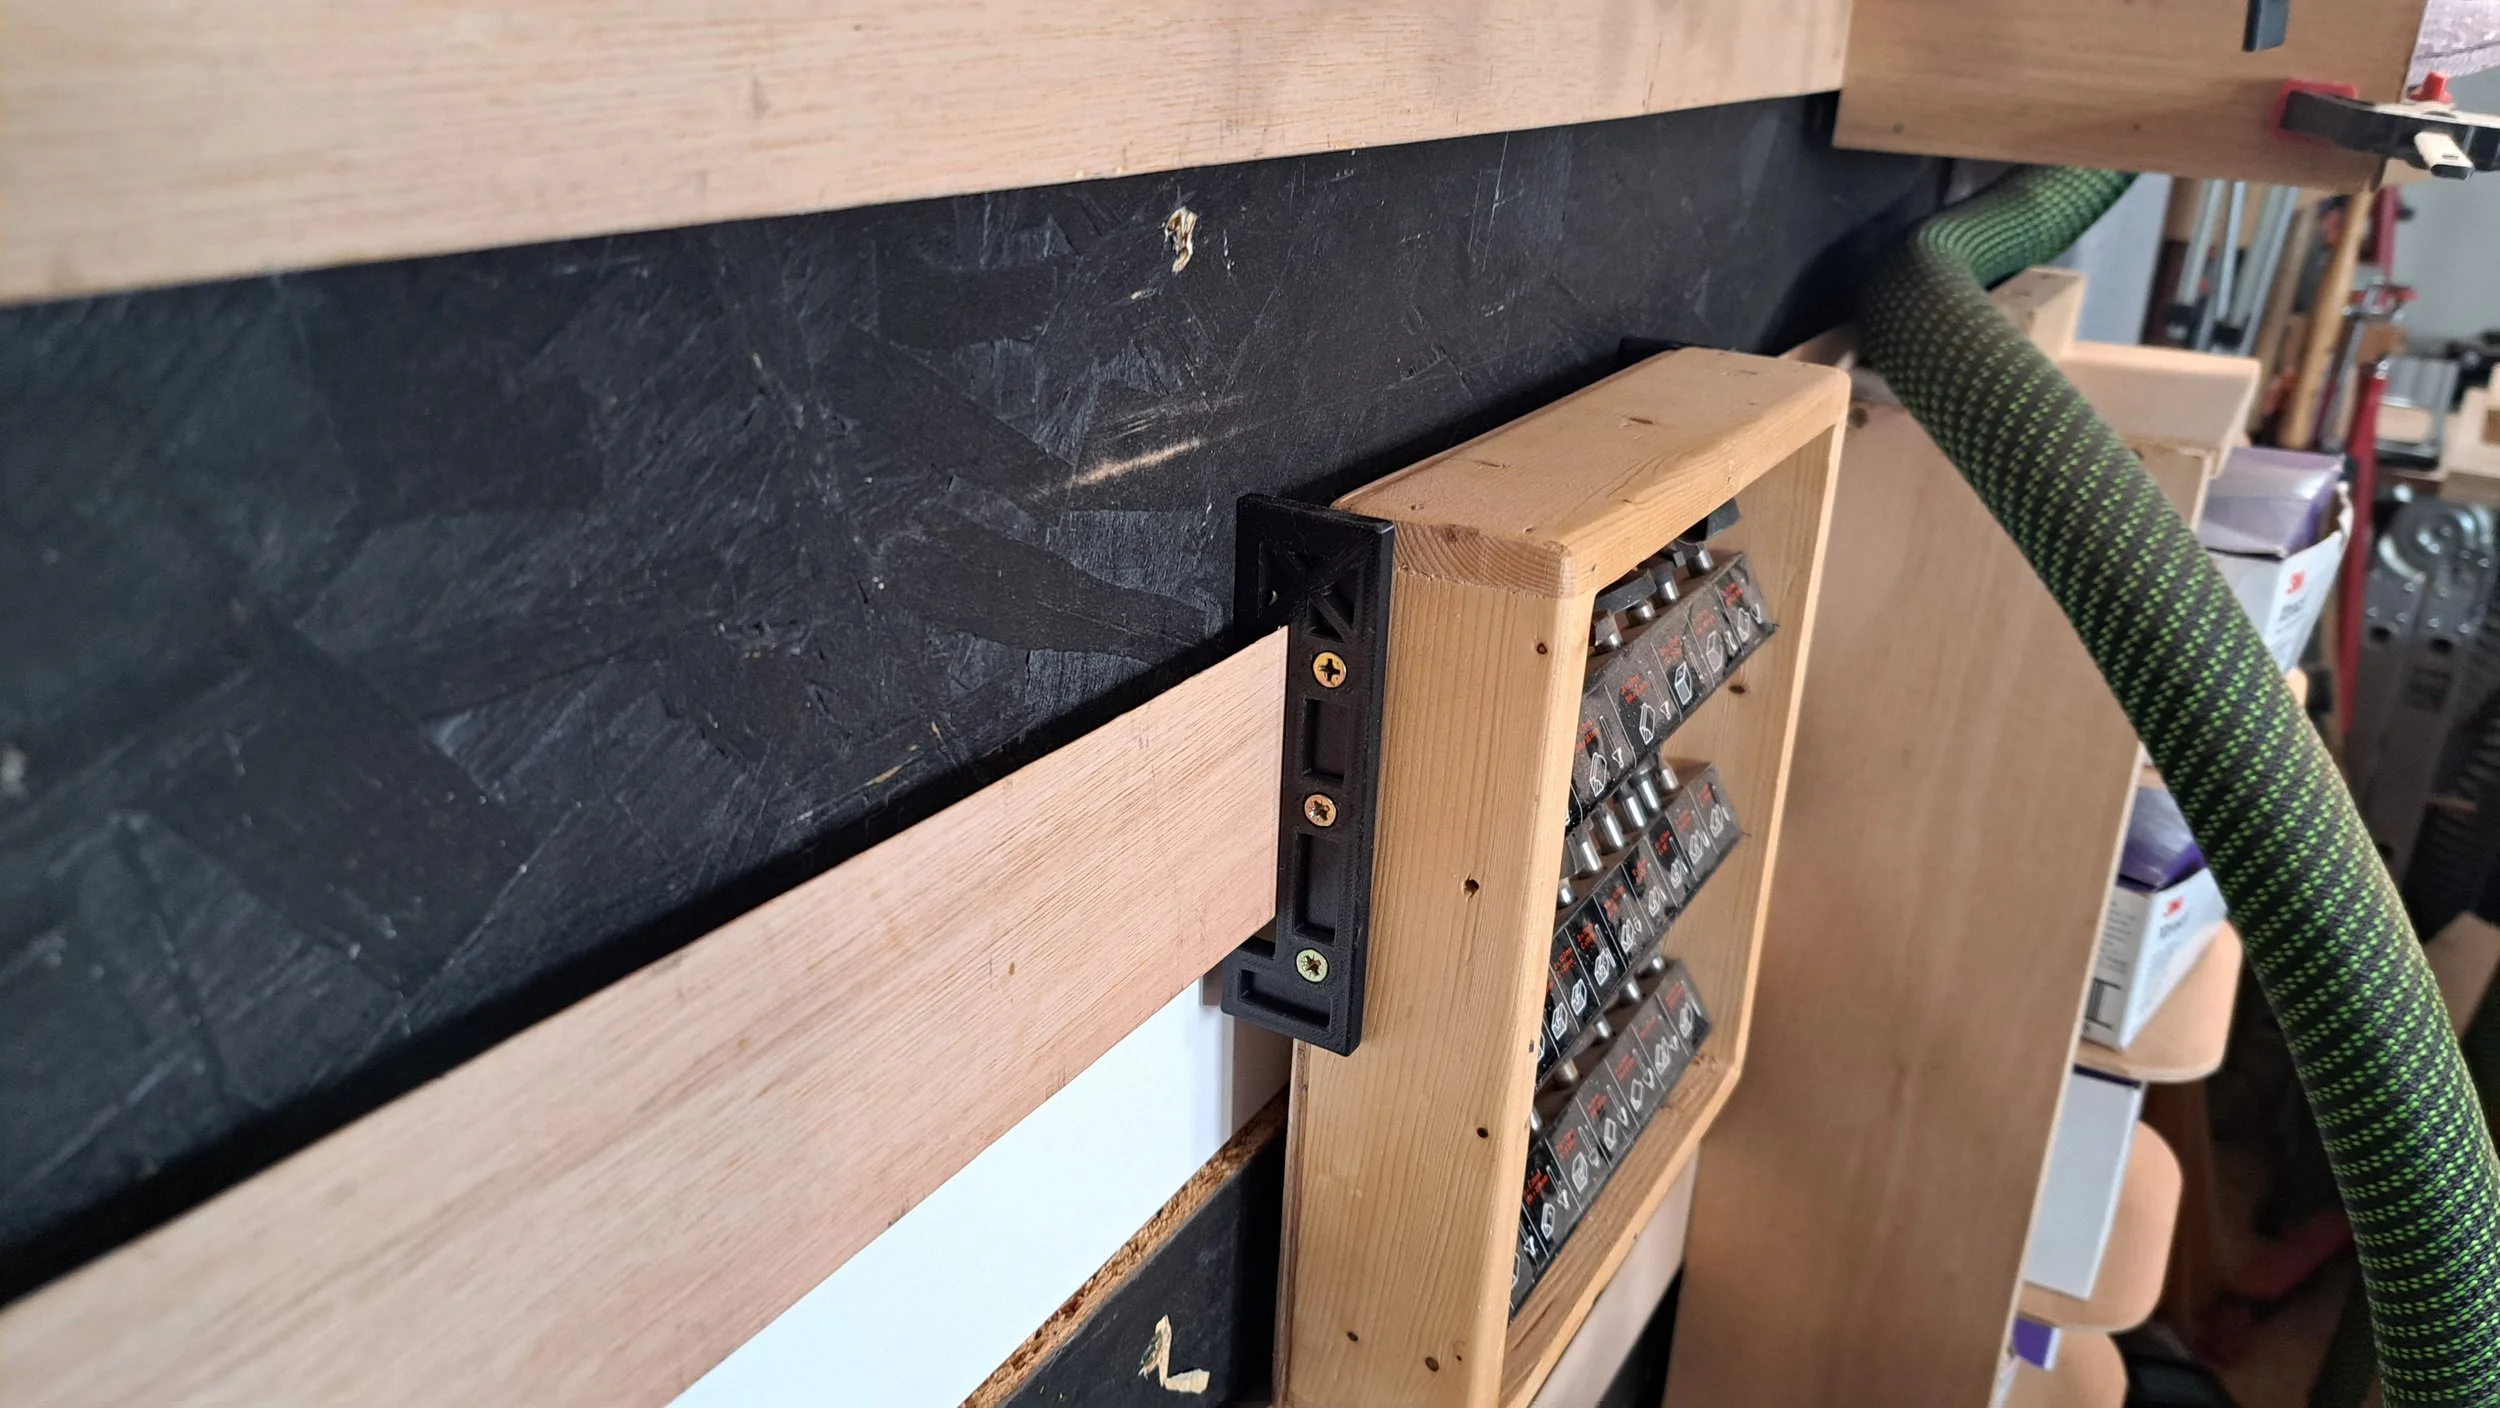 Image 13 of 18
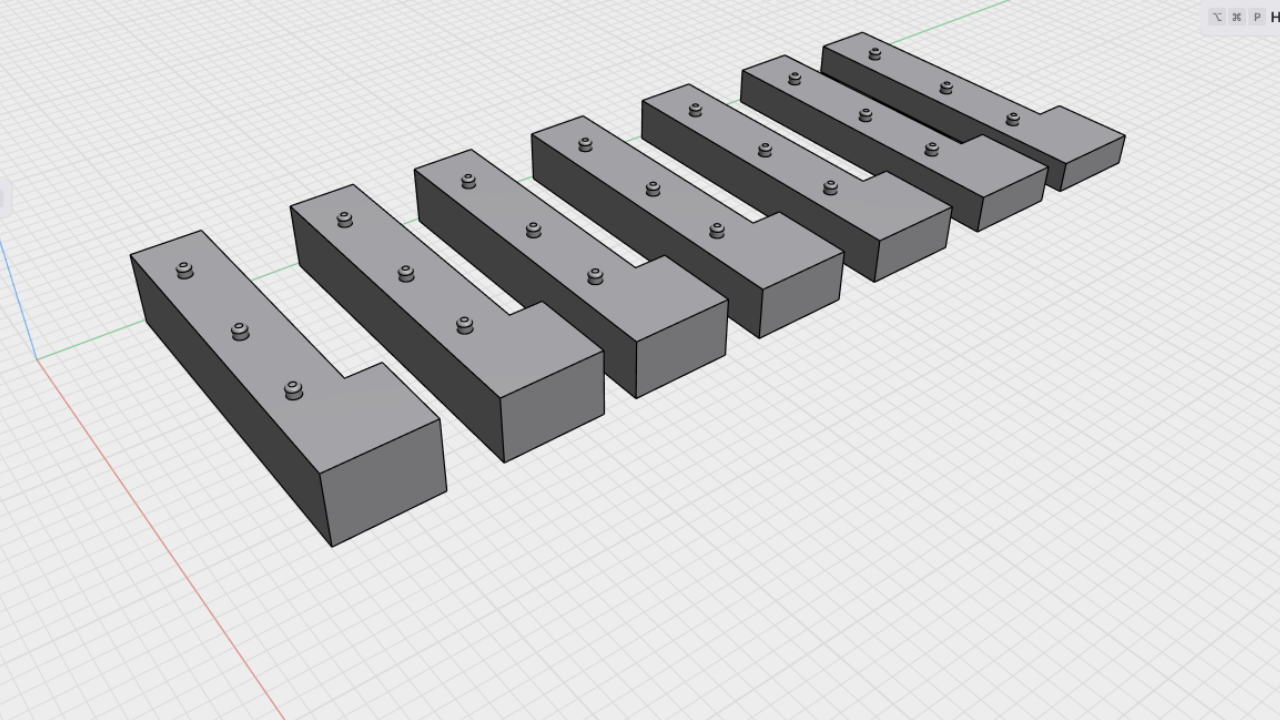 Image 14 of 18
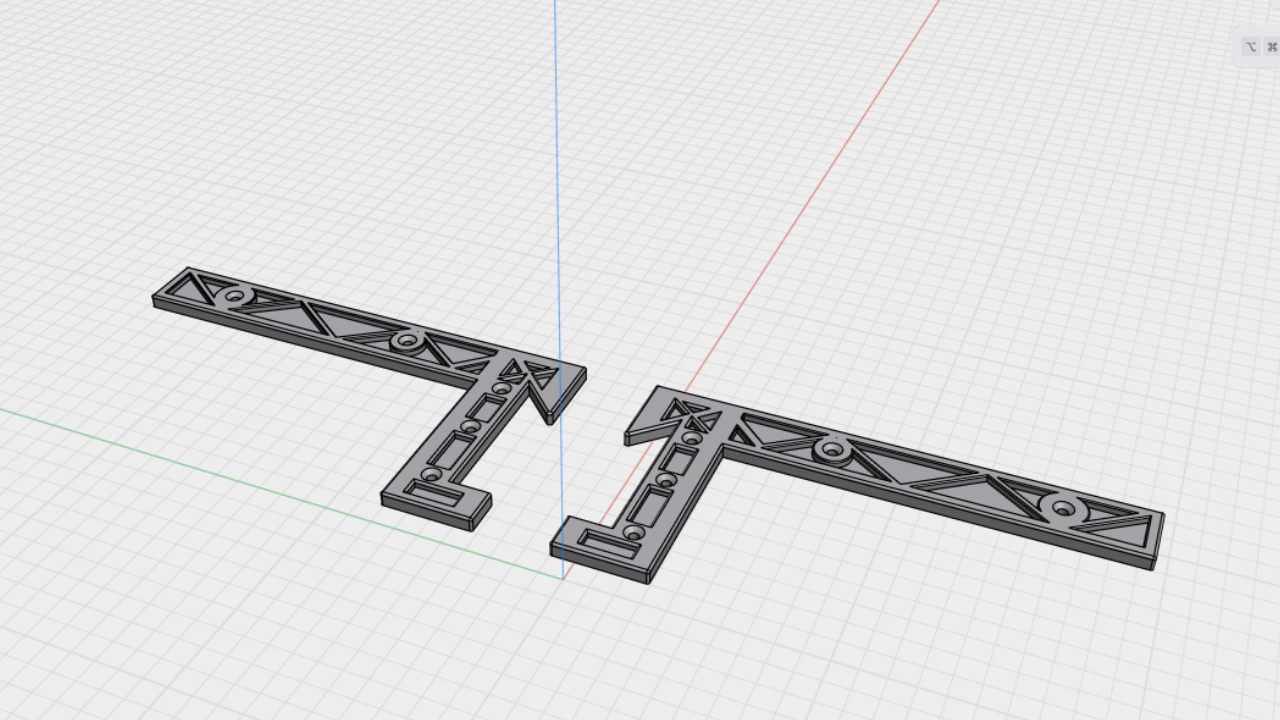 Image 15 of 18
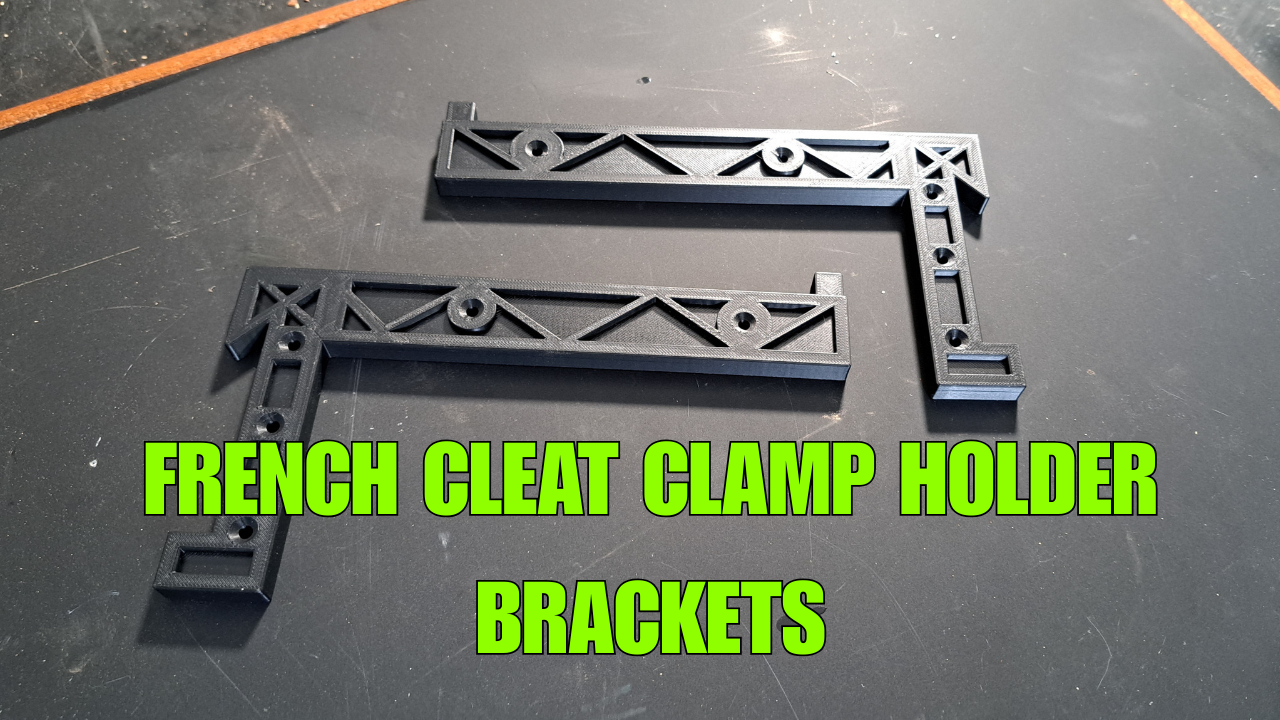 Image 16 of 18
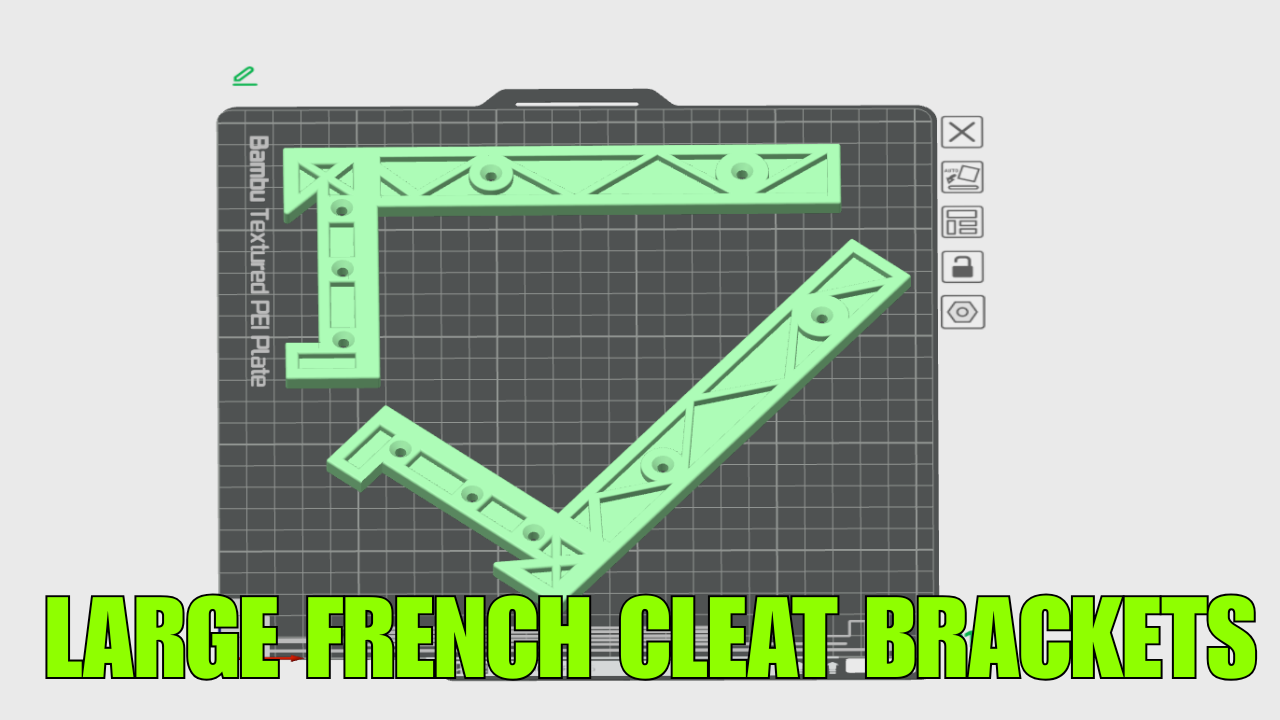 Image 17 of 18
 Image 18 of 18