Sale Price:
£10.00
Original Price:
£12.00
The Double-Cut Table Saw Sled’ has been designed to provide a lightweight, small footprint Table saw sled compatible with any table saw.
It has been carefully designed to give the user precise cuts both at 90 and 45 degrees
with repeatability and confidence.
The plans include 20 pages of step by step instructions with easy to understand pictures and clear measurements.
All hardware is linked as are the 3D print files sold separately.
This is a must have build for any workshop where a table saw is in use.
3D Print Files - https://www.start-making.com/3d-print-files/p/table-saw-sled-accessories-3d-print-files-bundle
Build Video - https://youtu.be/Ti4n8lHCcbY
Sled Build Plans Extra Video Time Stamps - Video Linked in Plans
00:00 - Intro
00:40 - Material choices explained
01:50 - Brief word about safety
02:22 - Tool you need for the build
04:50 - Optional extra hardware explained. What you need and what you may need.
05:40 - Cut list explained.
05:55 - How to align the mitre runner and zero insert grooves on the base so that you can adapt the sled for all saws. And an explanation as to how easy it is to customise the size of the sled.
10:40 - How to cut the grooves and fit the inserts. How to sneak up on a tight fit every time.
13:59 - Cutting the pieces for the fences and why I chose to make the rear fence so thick. What changes are possible with different T-Track choices.
15:49 - Assembling the fences. Glue up and how to keep them straight.
17:35 - How to fit and calibrate the zero clearance inserts so that they lie flush with the base and back fence.
19:56 - Easy fence cleanup to leave you with identical heights. Chamfer and rebate cutting for t-track.
22:56 - Base grooves for the hold down’s T-Track. How to do it, where to do it and what to use.
24:04 - Hold Down hardware. What works best and where to align the track to get the best results.
27:33 - Fitting the Mitre runner. And where to align the holes for tightening the fit.
28:34 - Fitting the front fence and making your first 90° kerf cut.
29:54 - Fitting the rear fence and calibrating it square. Brief explanation on how to use the 5 cut method and how easy it is.
33:50 - Making your first 45° cut.
35:43 - Brief chat about the extra accessories. Dust and finger guard, stop block and hose holder.
The Double-Cut Table Saw Sled’ has been designed to provide a lightweight, small footprint Table saw sled compatible with any table saw.
It has been carefully designed to give the user precise cuts both at 90 and 45 degrees
with repeatability and confidence.
The plans include 20 pages of step by step instructions with easy to understand pictures and clear measurements.
All hardware is linked as are the 3D print files sold separately.
This is a must have build for any workshop where a table saw is in use.
3D Print Files - https://www.start-making.com/3d-print-files/p/table-saw-sled-accessories-3d-print-files-bundle
Build Video - https://youtu.be/Ti4n8lHCcbY
Sled Build Plans Extra Video Time Stamps - Video Linked in Plans
00:00 - Intro
00:40 - Material choices explained
01:50 - Brief word about safety
02:22 - Tool you need for the build
04:50 - Optional extra hardware explained. What you need and what you may need.
05:40 - Cut list explained.
05:55 - How to align the mitre runner and zero insert grooves on the base so that you can adapt the sled for all saws. And an explanation as to how easy it is to customise the size of the sled.
10:40 - How to cut the grooves and fit the inserts. How to sneak up on a tight fit every time.
13:59 - Cutting the pieces for the fences and why I chose to make the rear fence so thick. What changes are possible with different T-Track choices.
15:49 - Assembling the fences. Glue up and how to keep them straight.
17:35 - How to fit and calibrate the zero clearance inserts so that they lie flush with the base and back fence.
19:56 - Easy fence cleanup to leave you with identical heights. Chamfer and rebate cutting for t-track.
22:56 - Base grooves for the hold down’s T-Track. How to do it, where to do it and what to use.
24:04 - Hold Down hardware. What works best and where to align the track to get the best results.
27:33 - Fitting the Mitre runner. And where to align the holes for tightening the fit.
28:34 - Fitting the front fence and making your first 90° kerf cut.
29:54 - Fitting the rear fence and calibrating it square. Brief explanation on how to use the 5 cut method and how easy it is.
33:50 - Making your first 45° cut.
35:43 - Brief chat about the extra accessories. Dust and finger guard, stop block and hose holder.

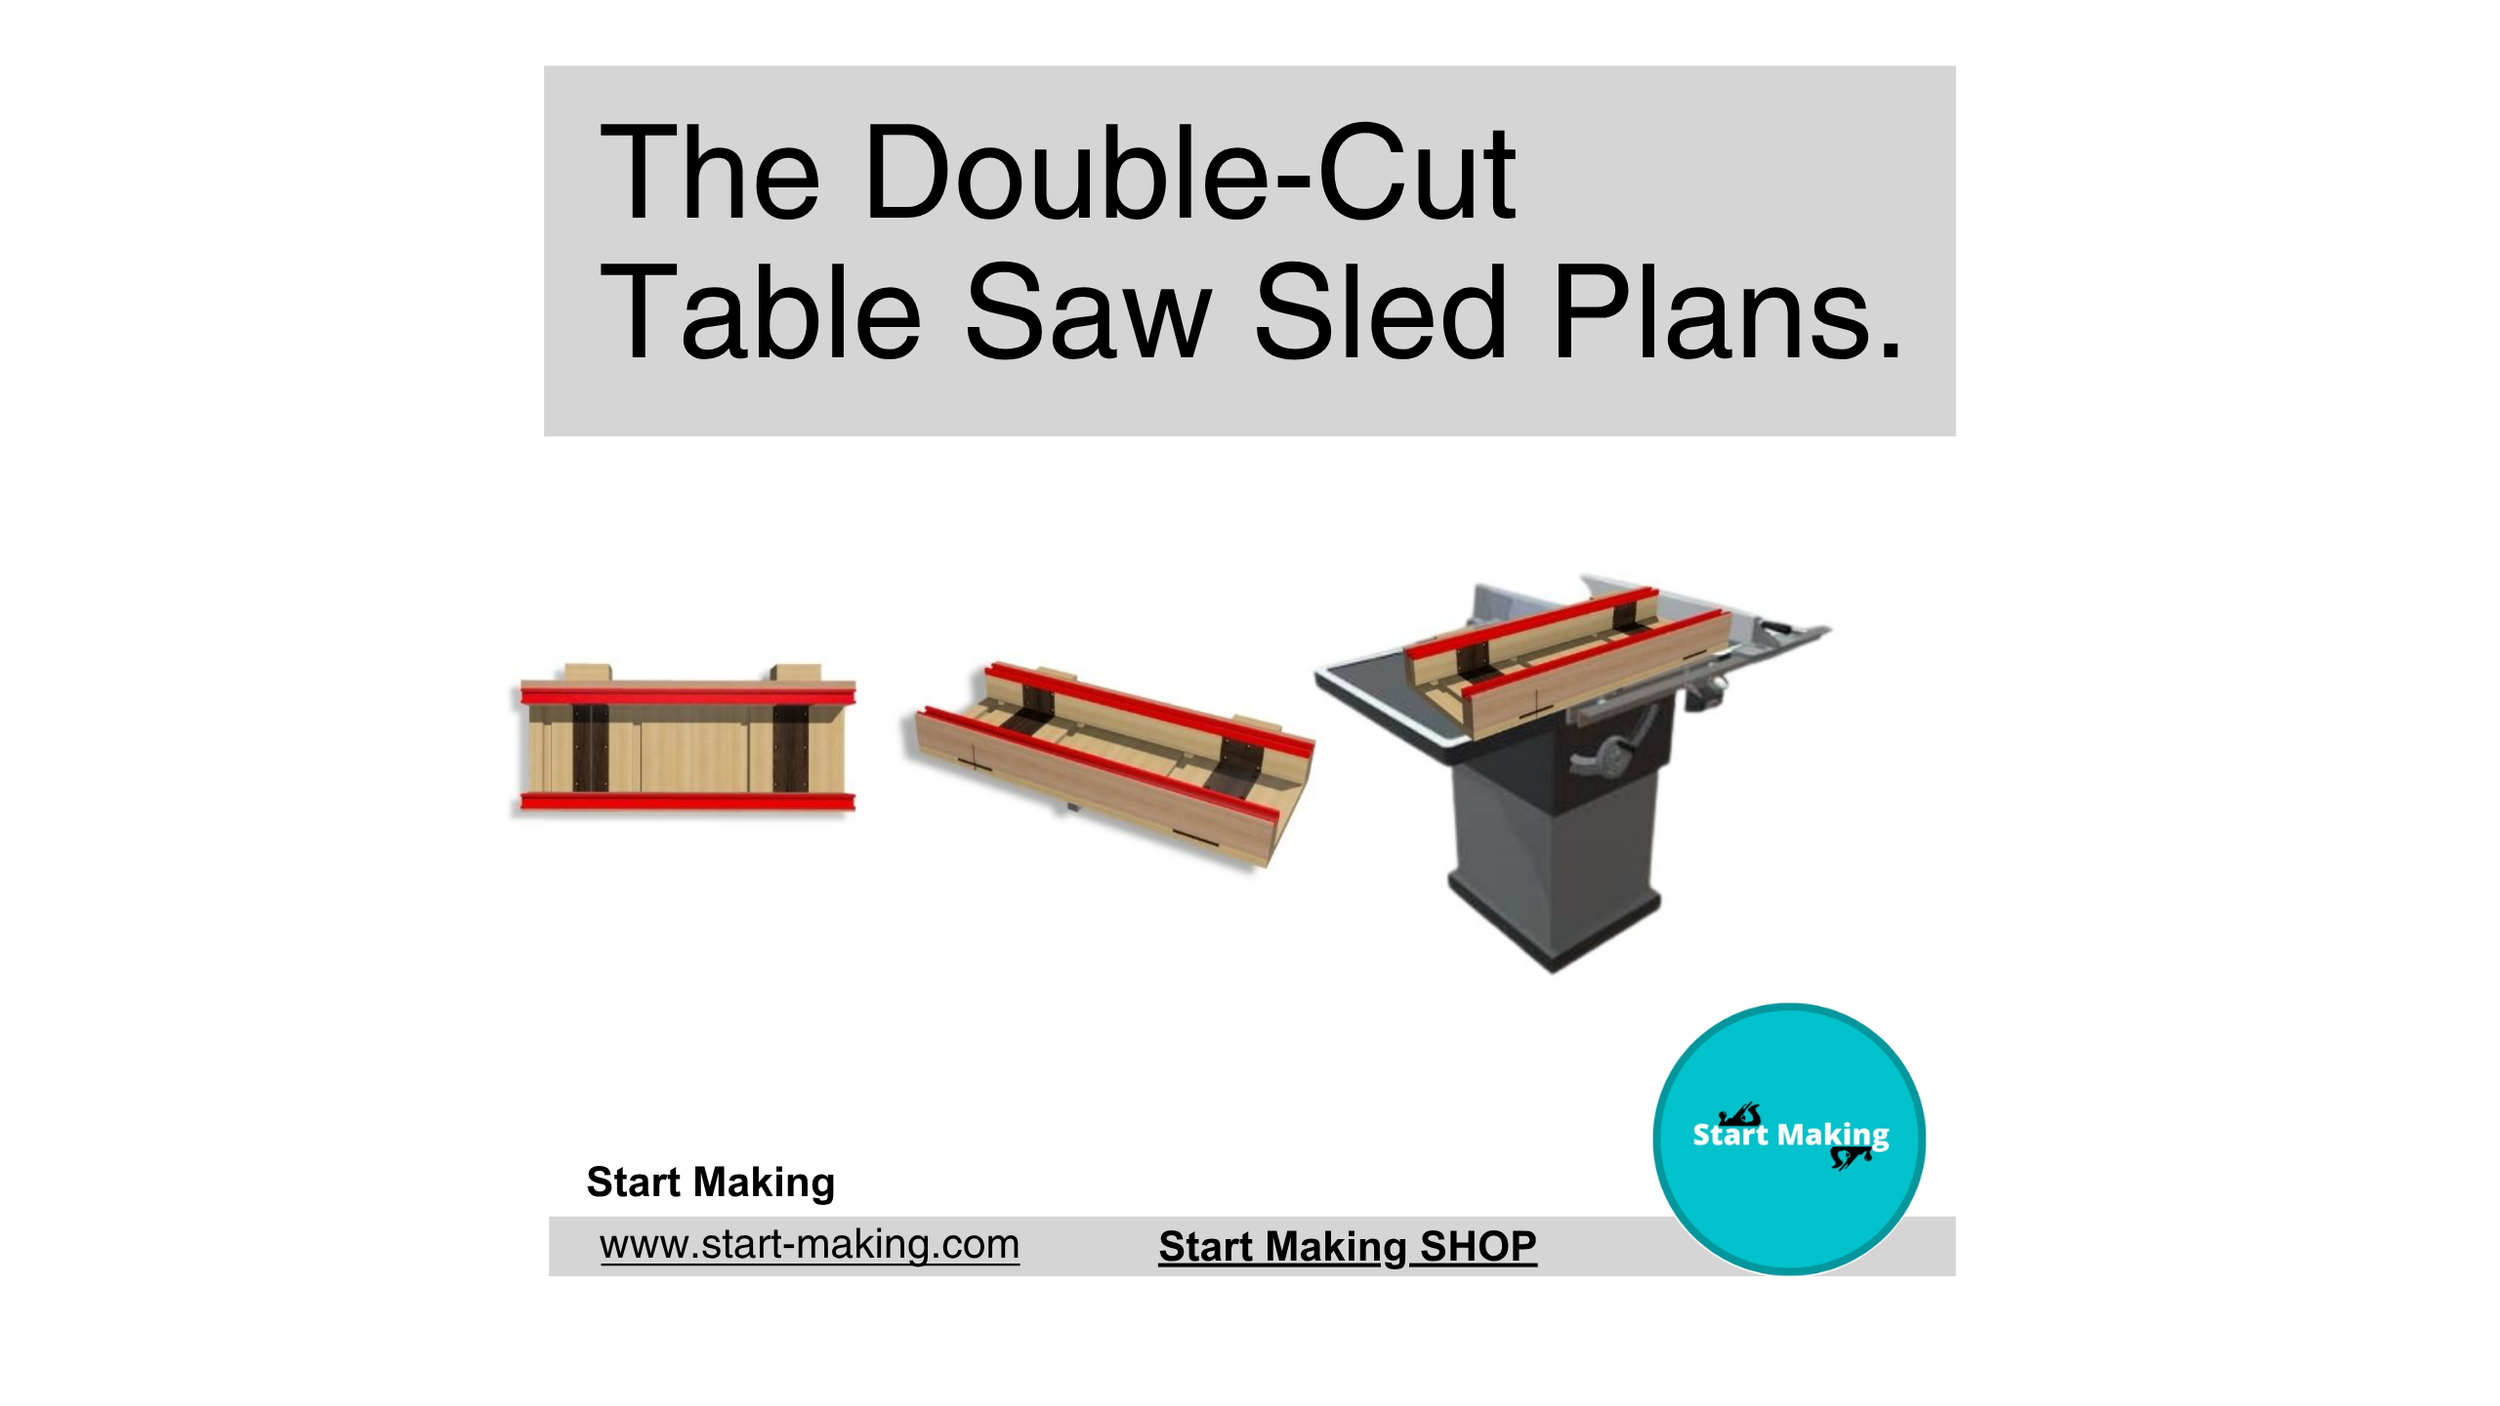 Image 1 of 9
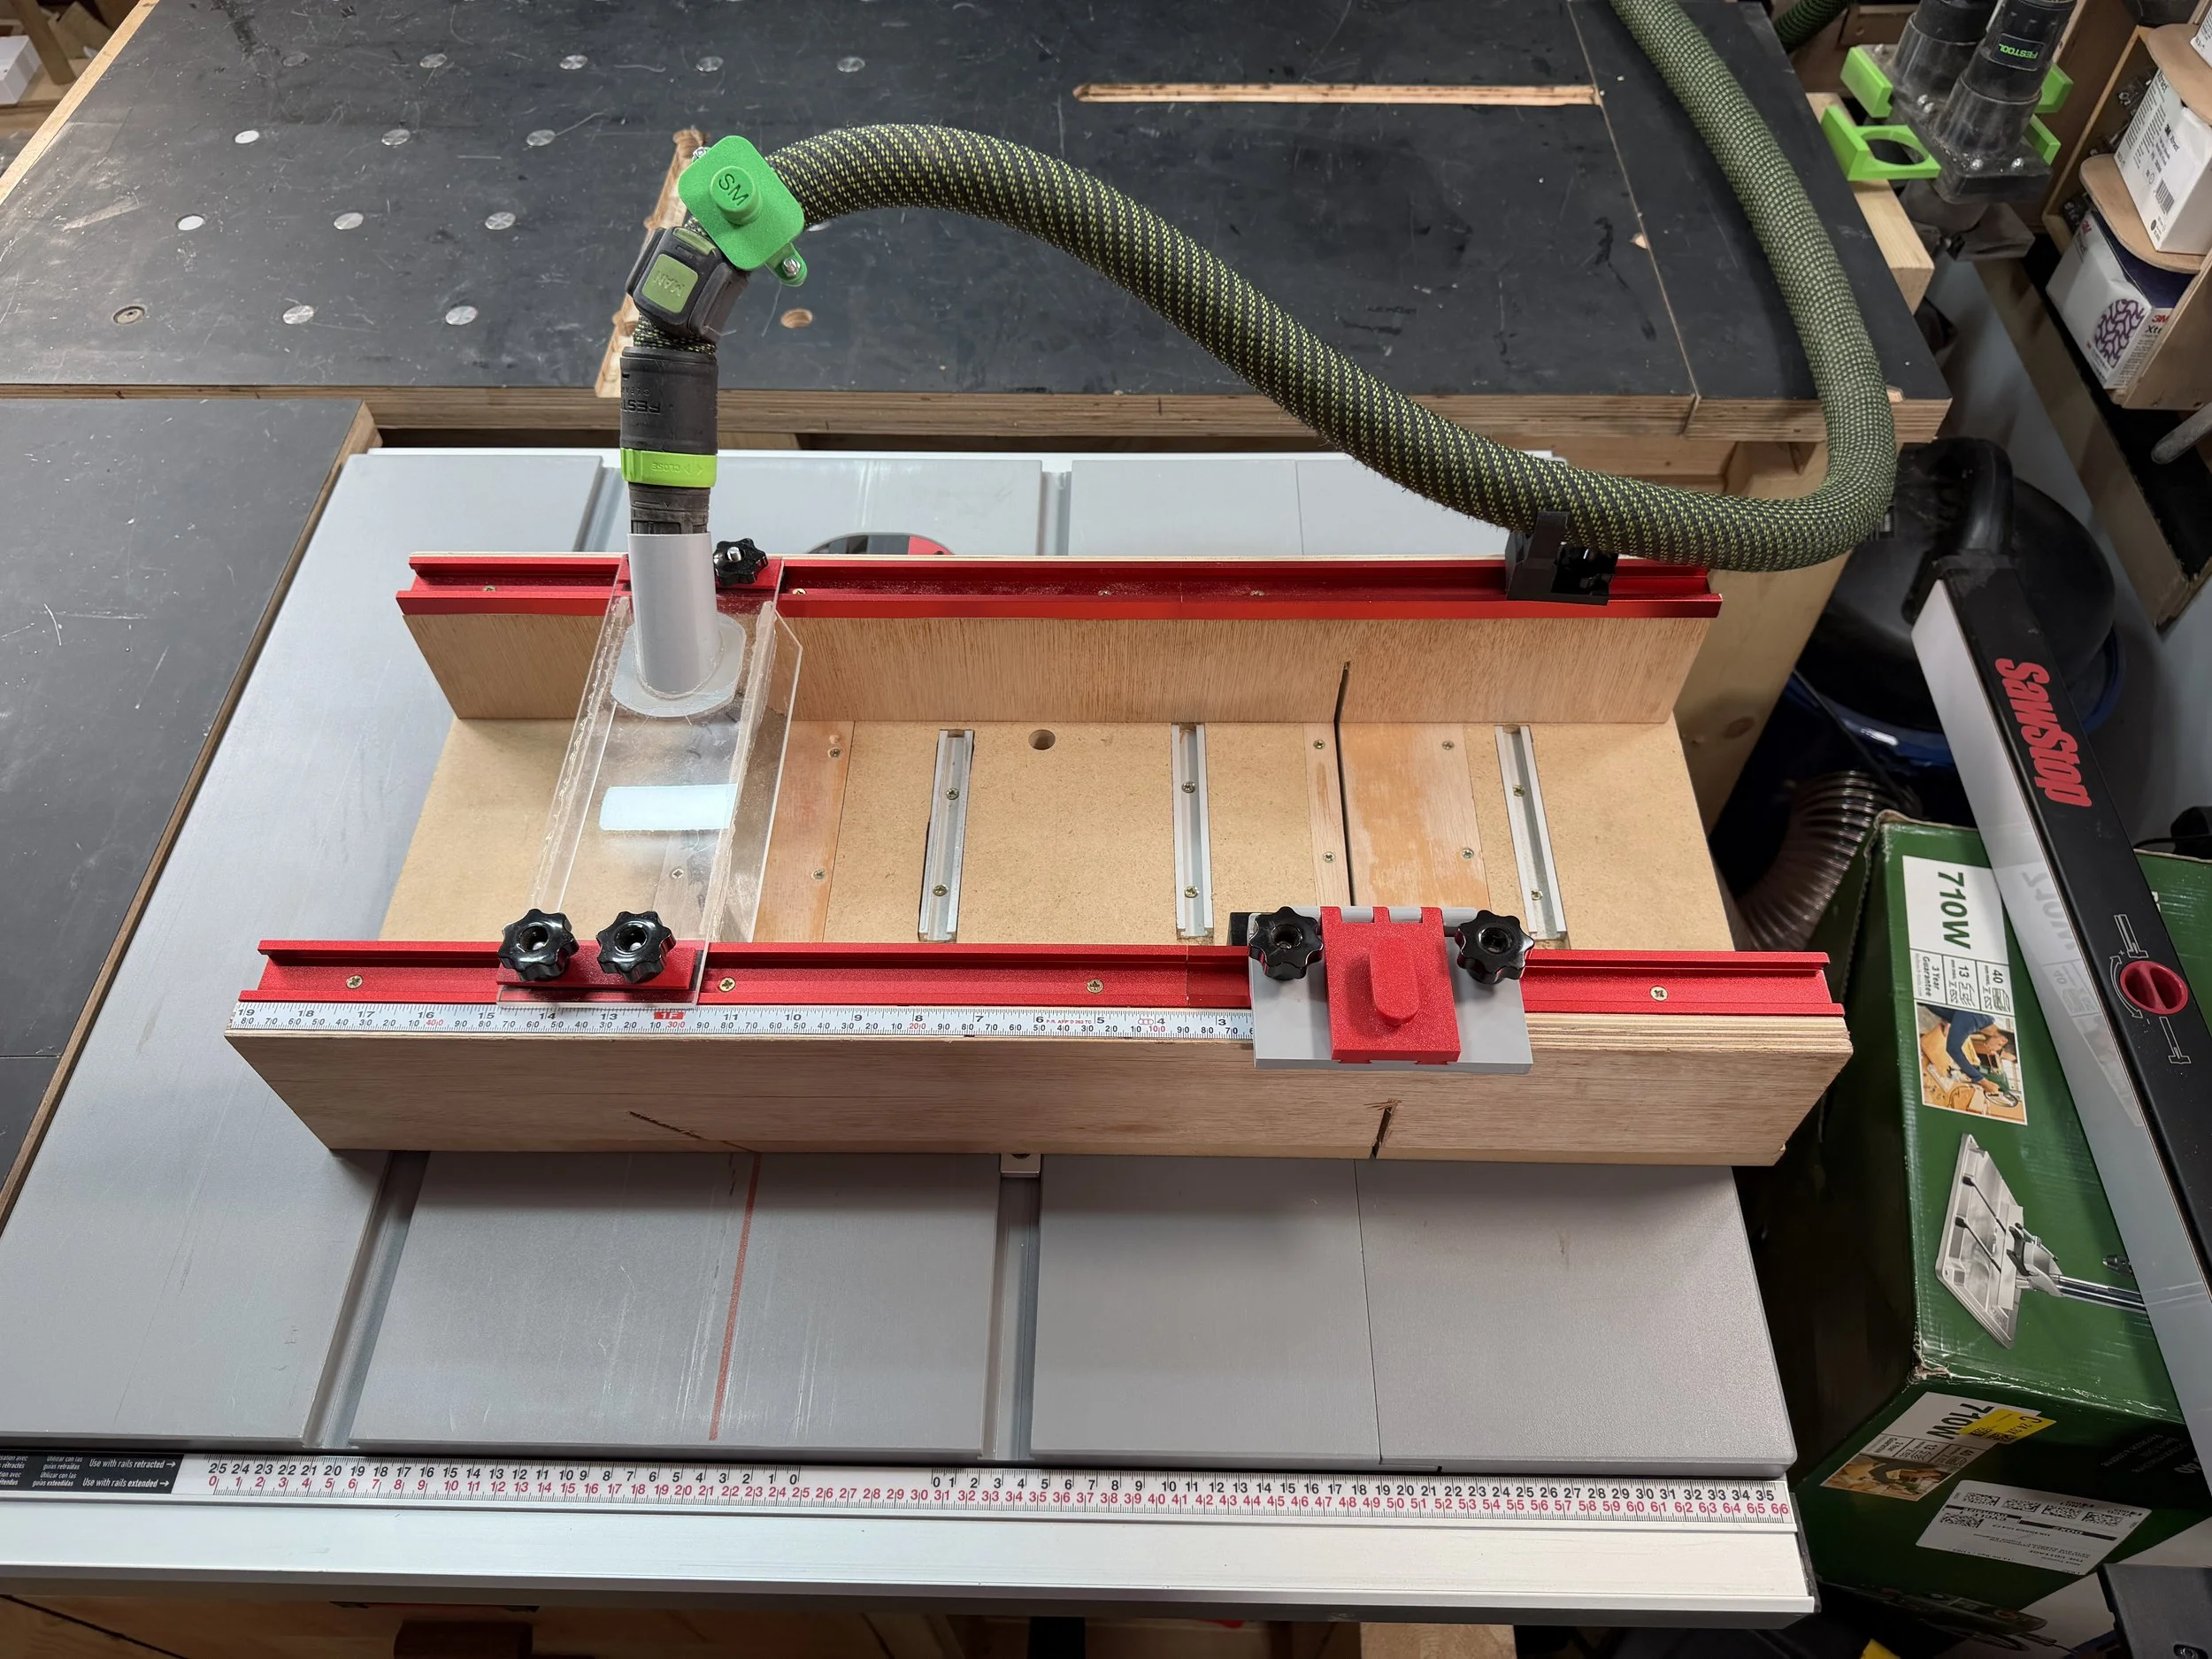 Image 2 of 9
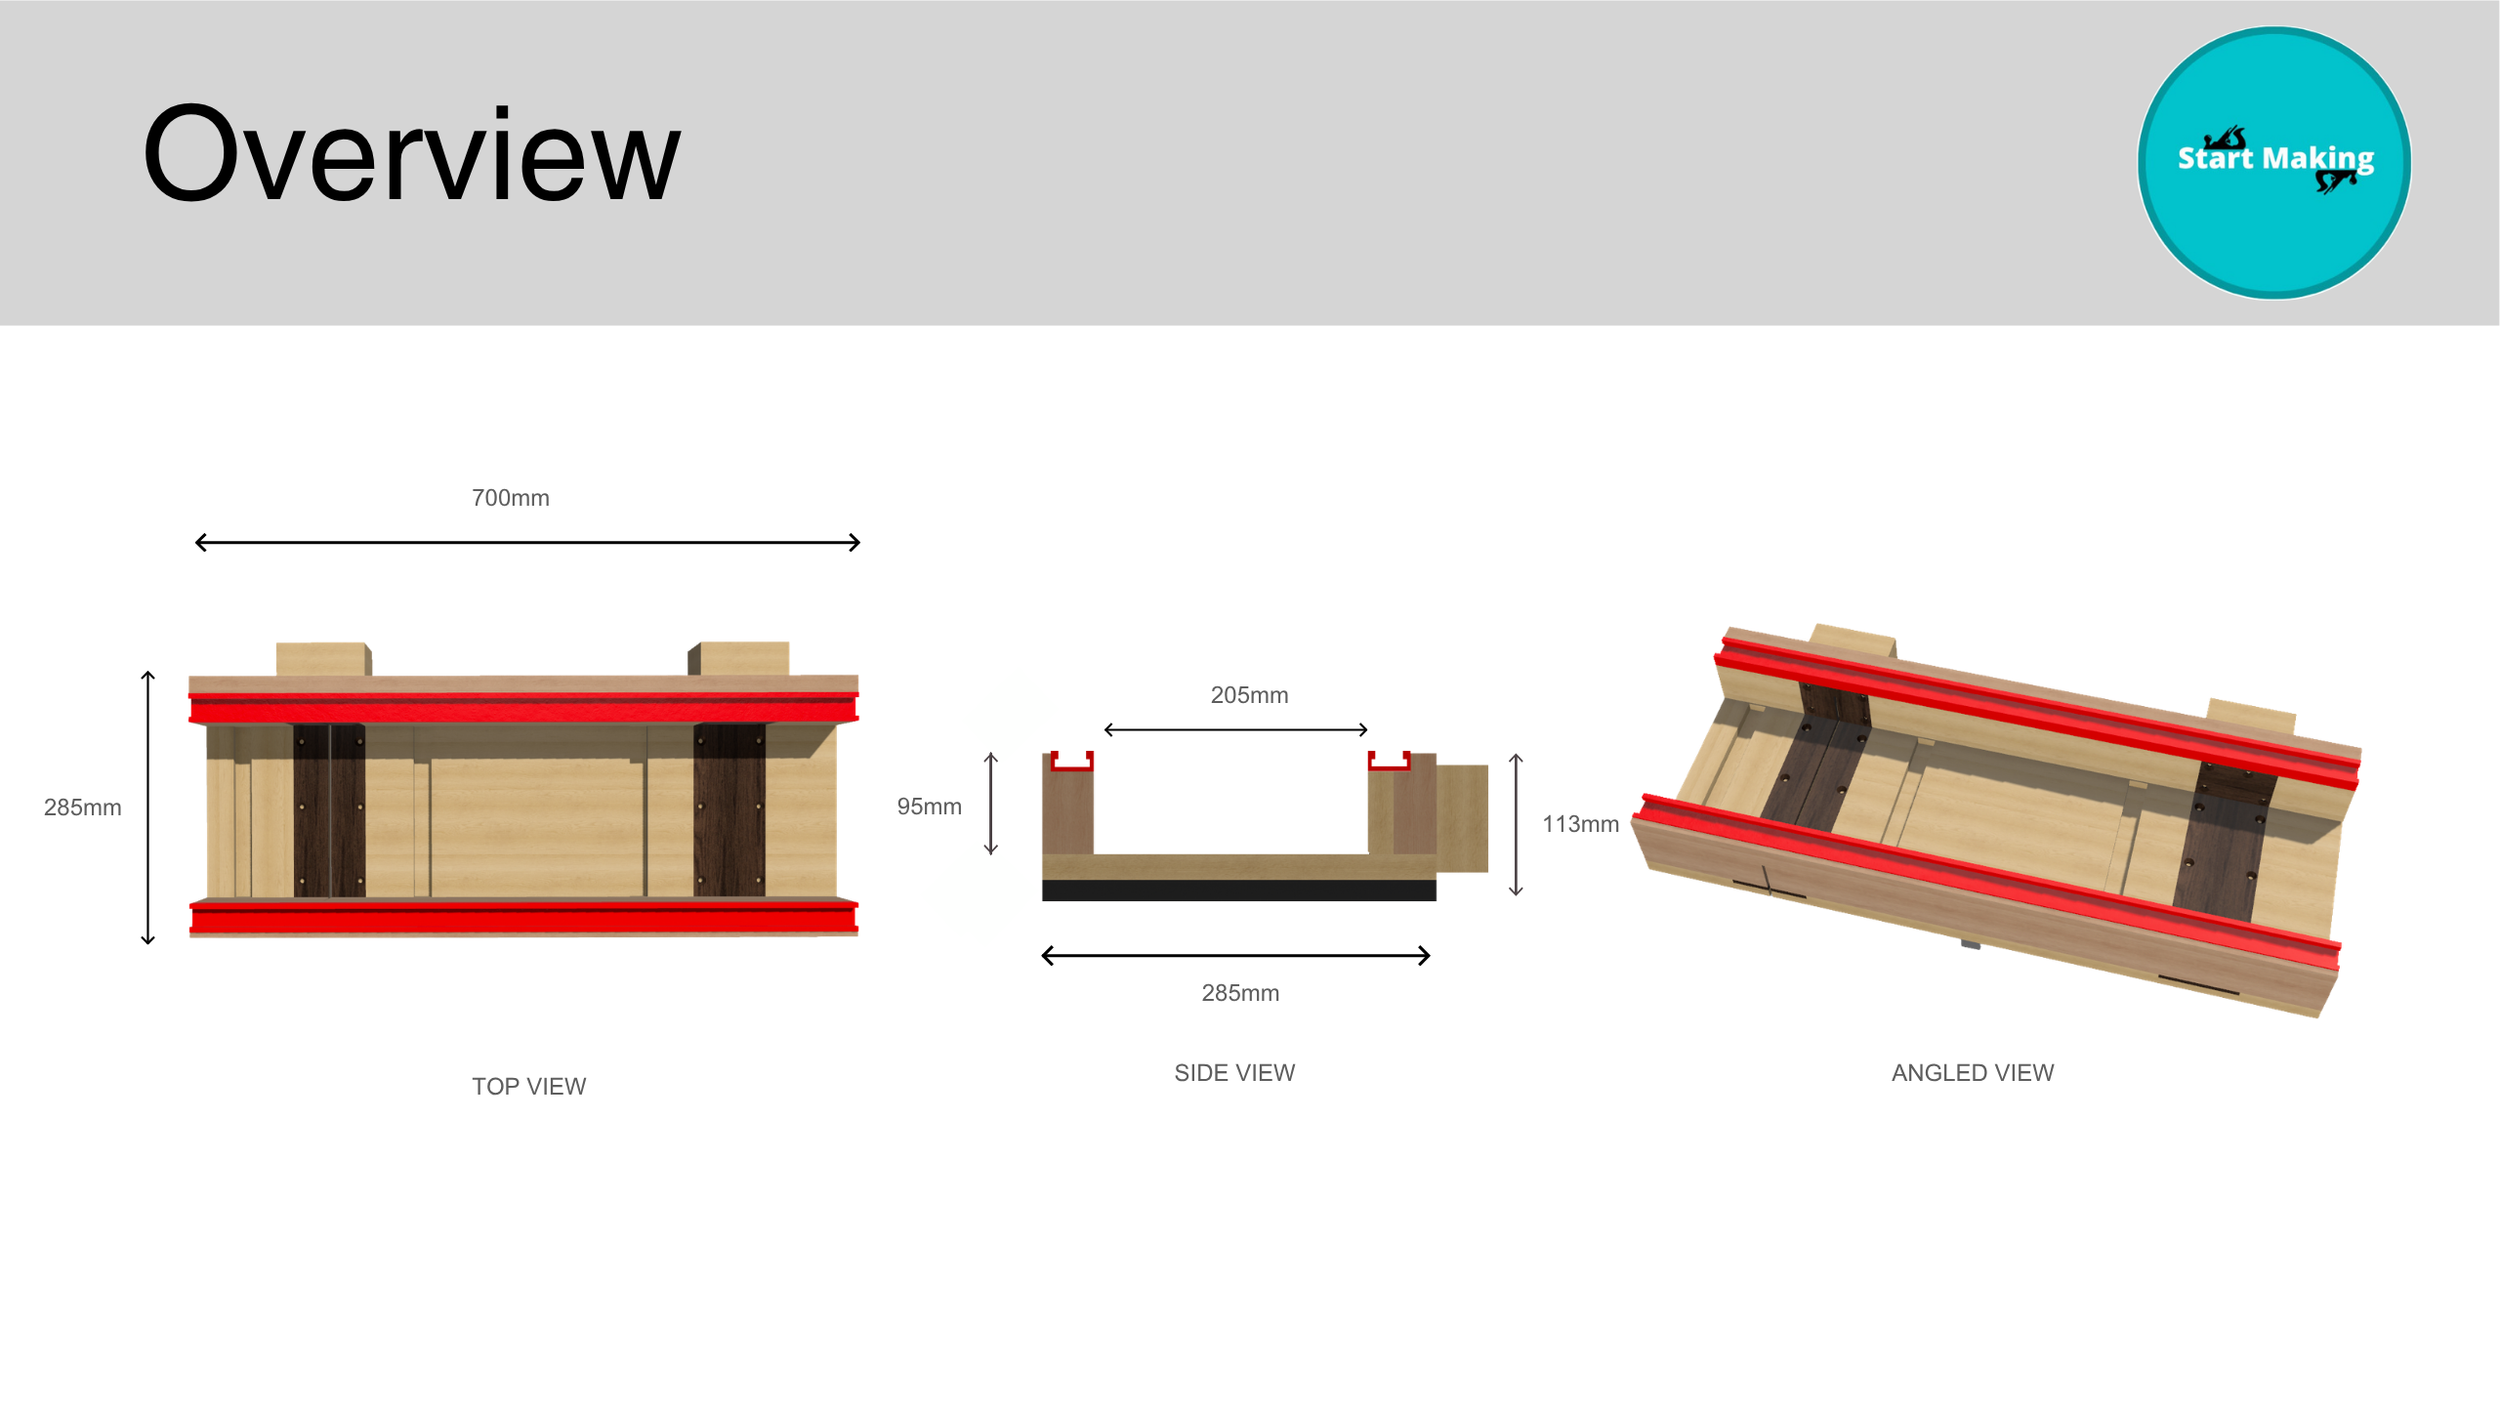 Image 3 of 9
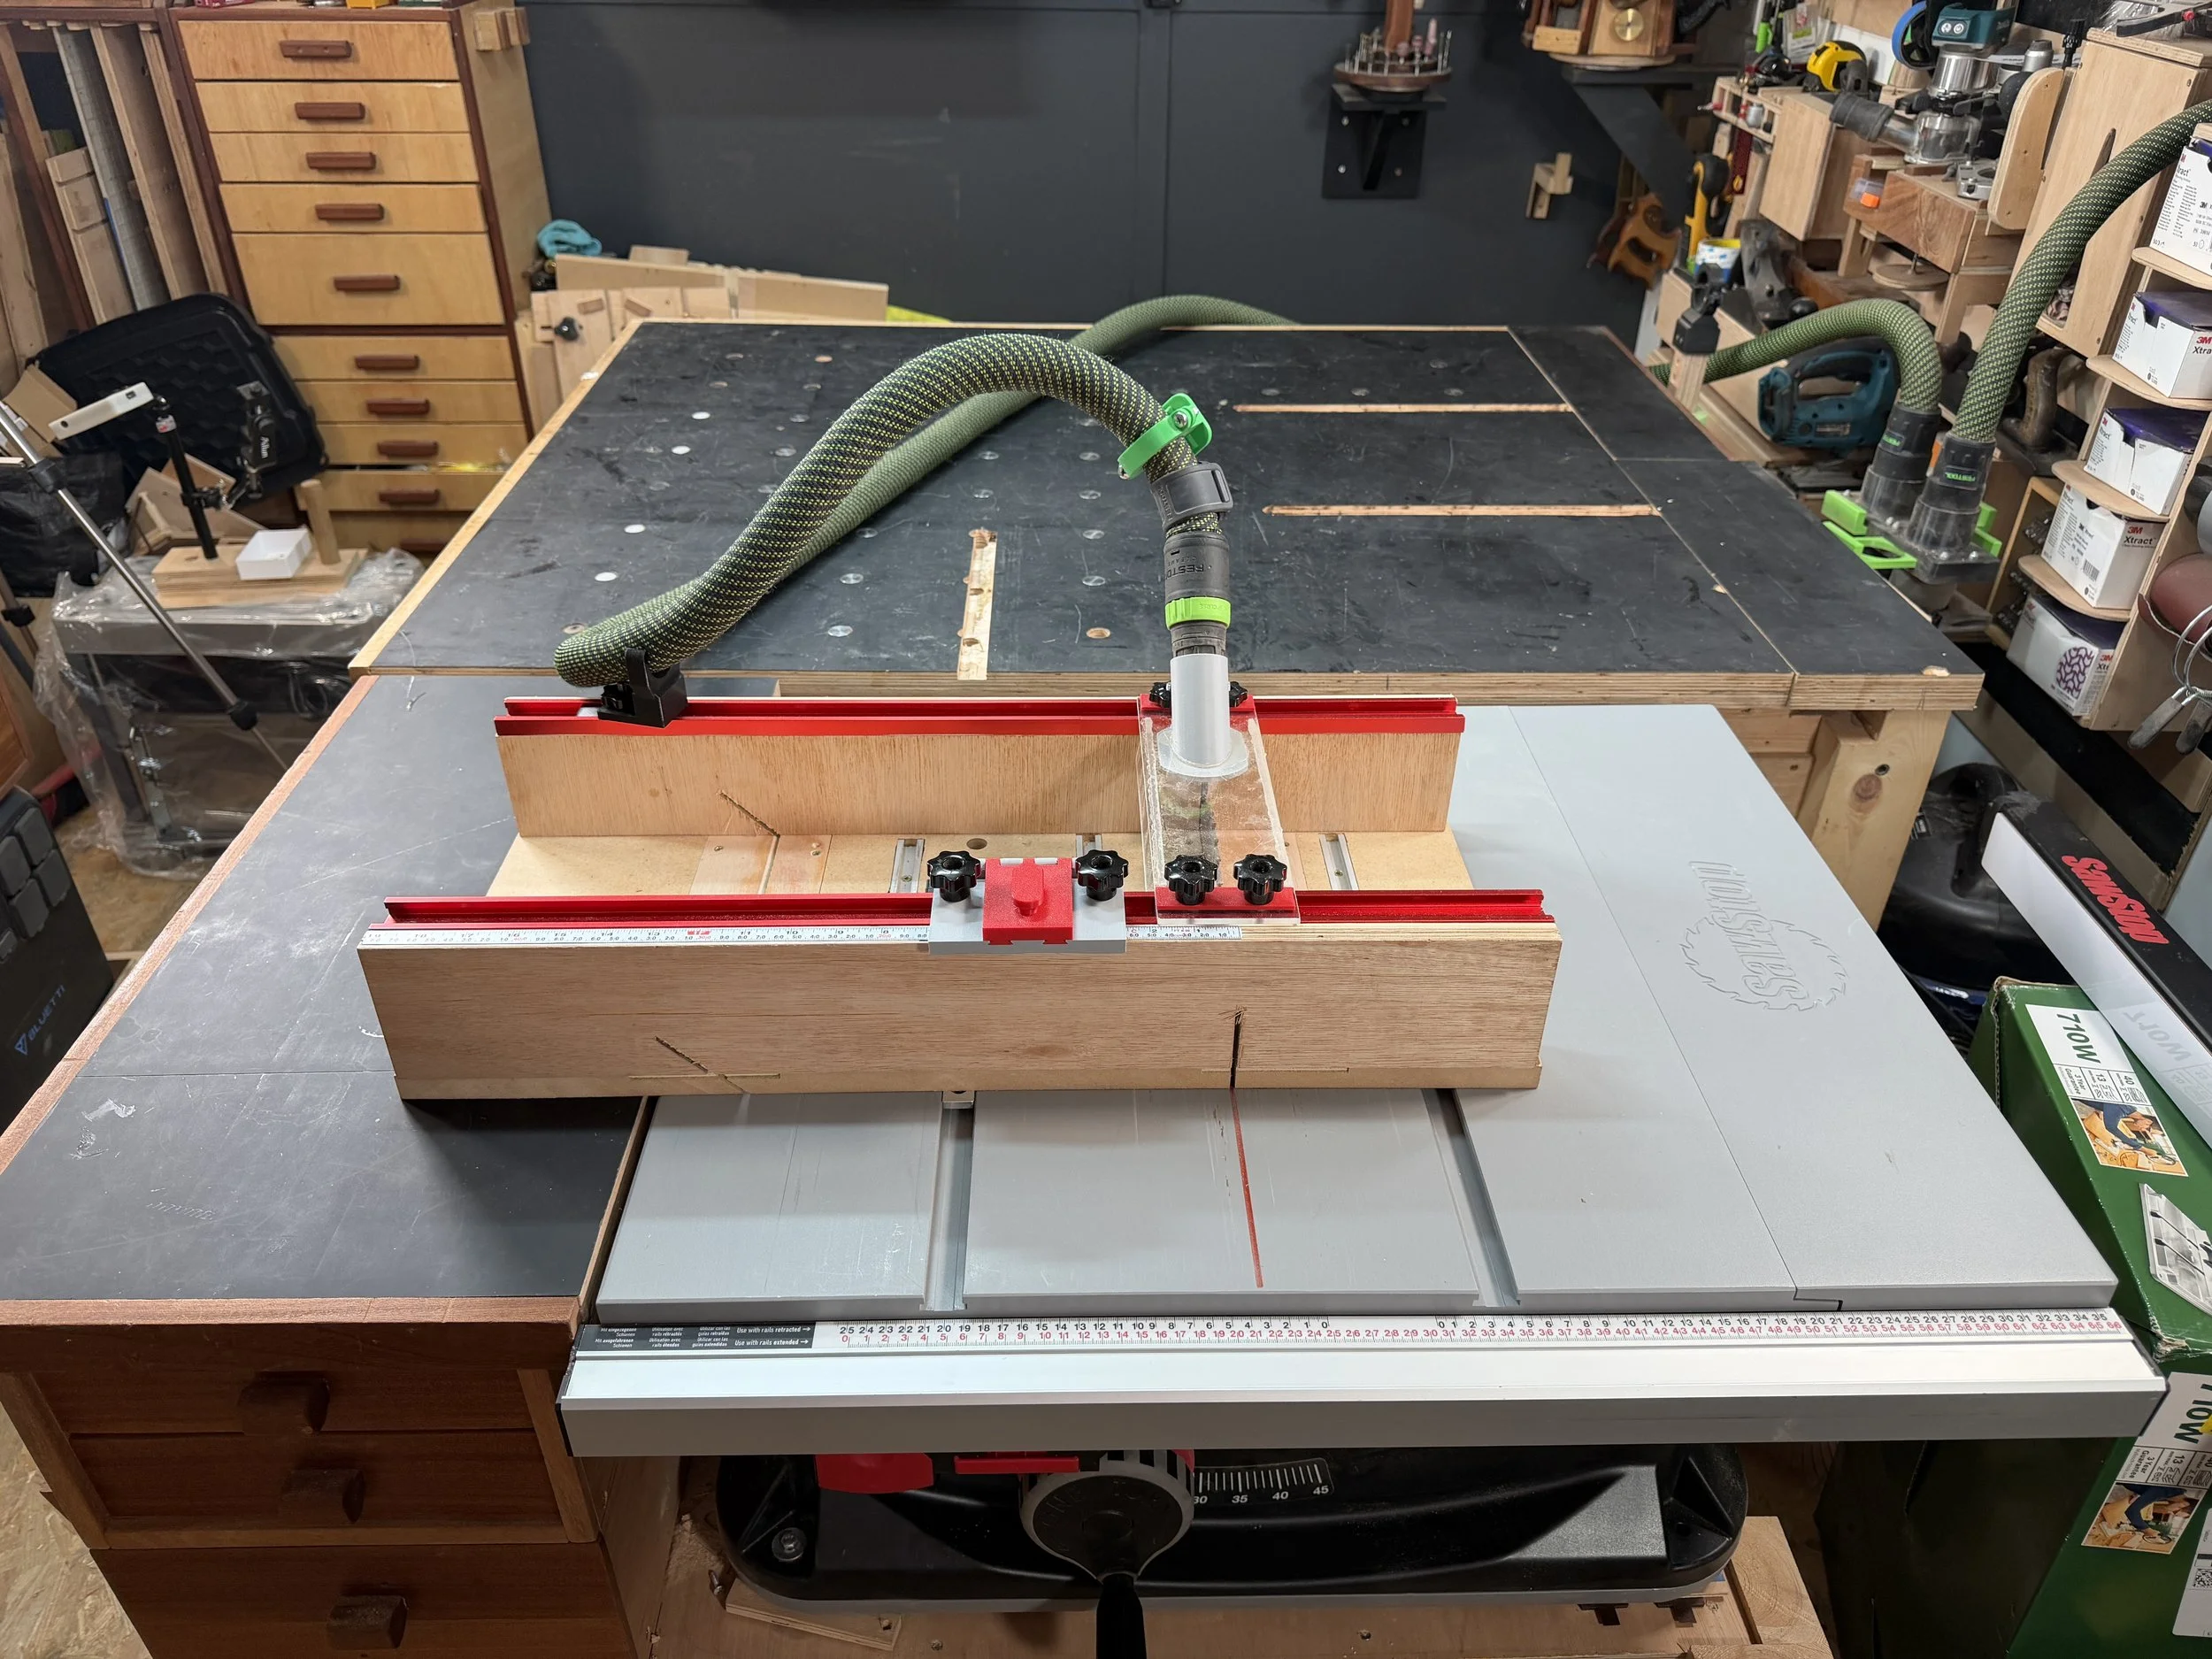 Image 4 of 9
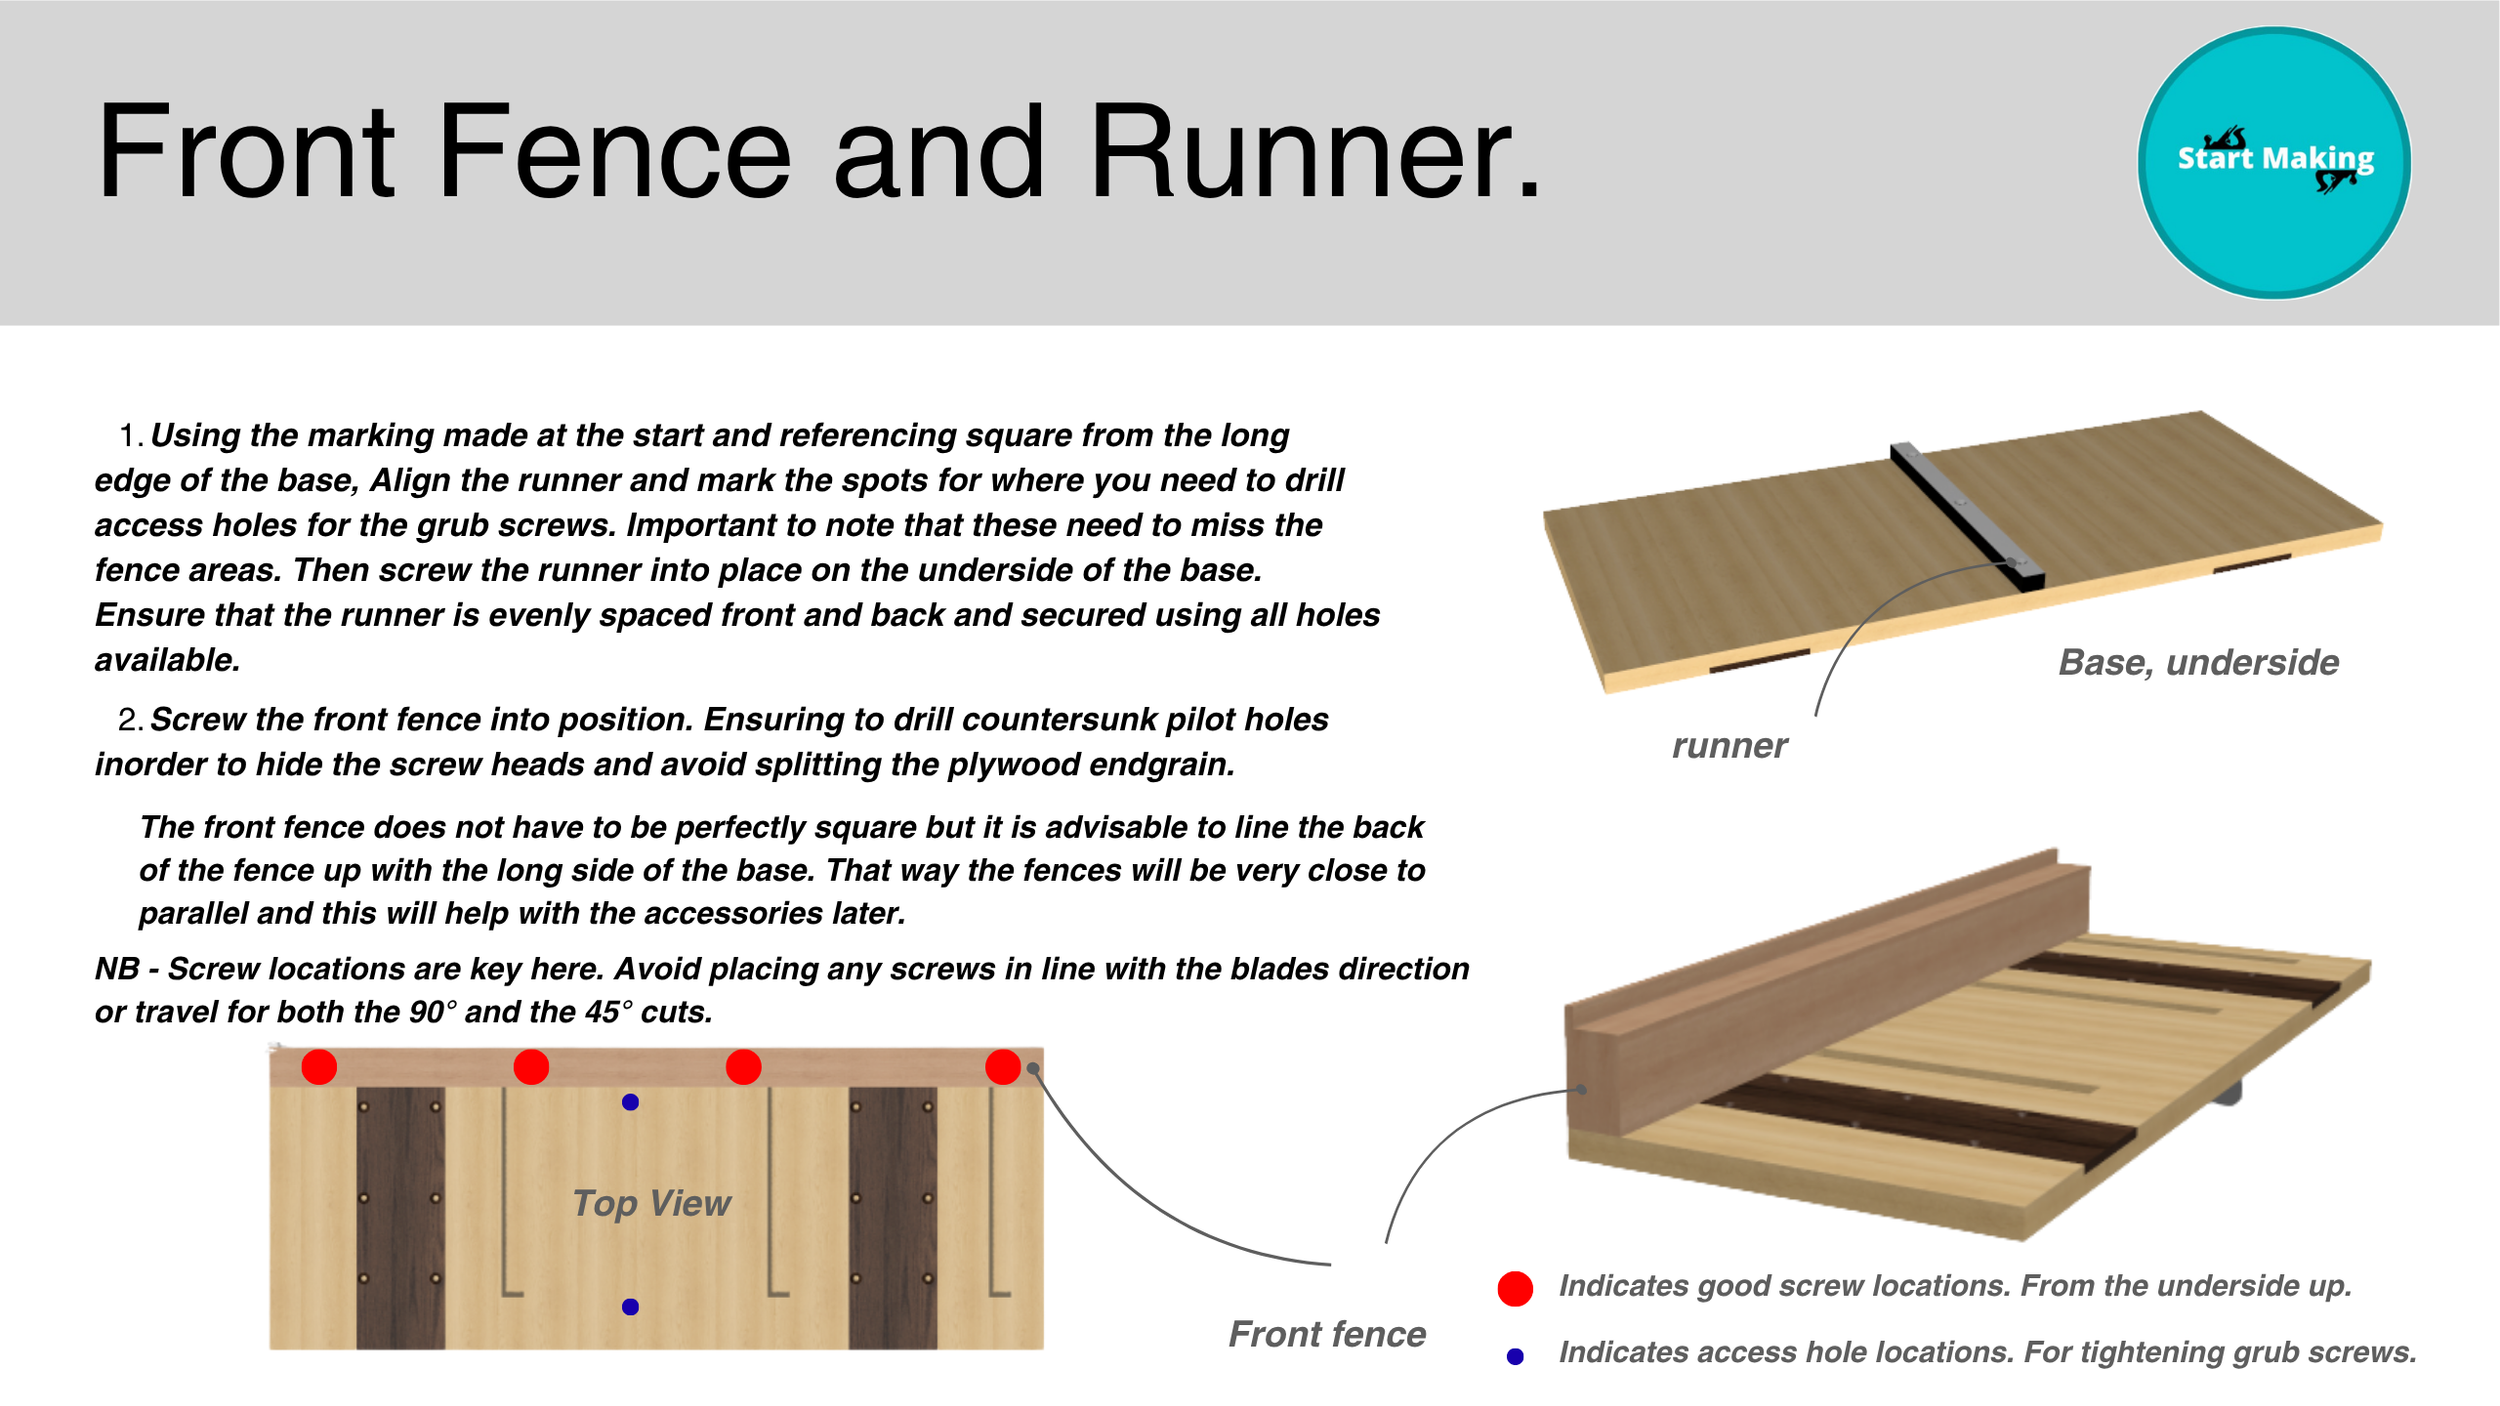 Image 5 of 9
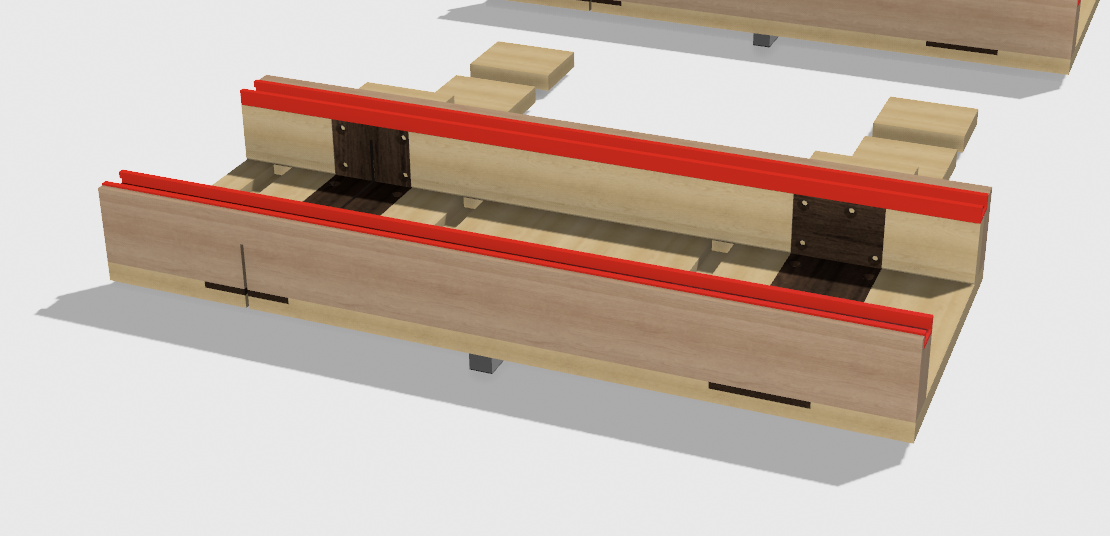 Image 6 of 9
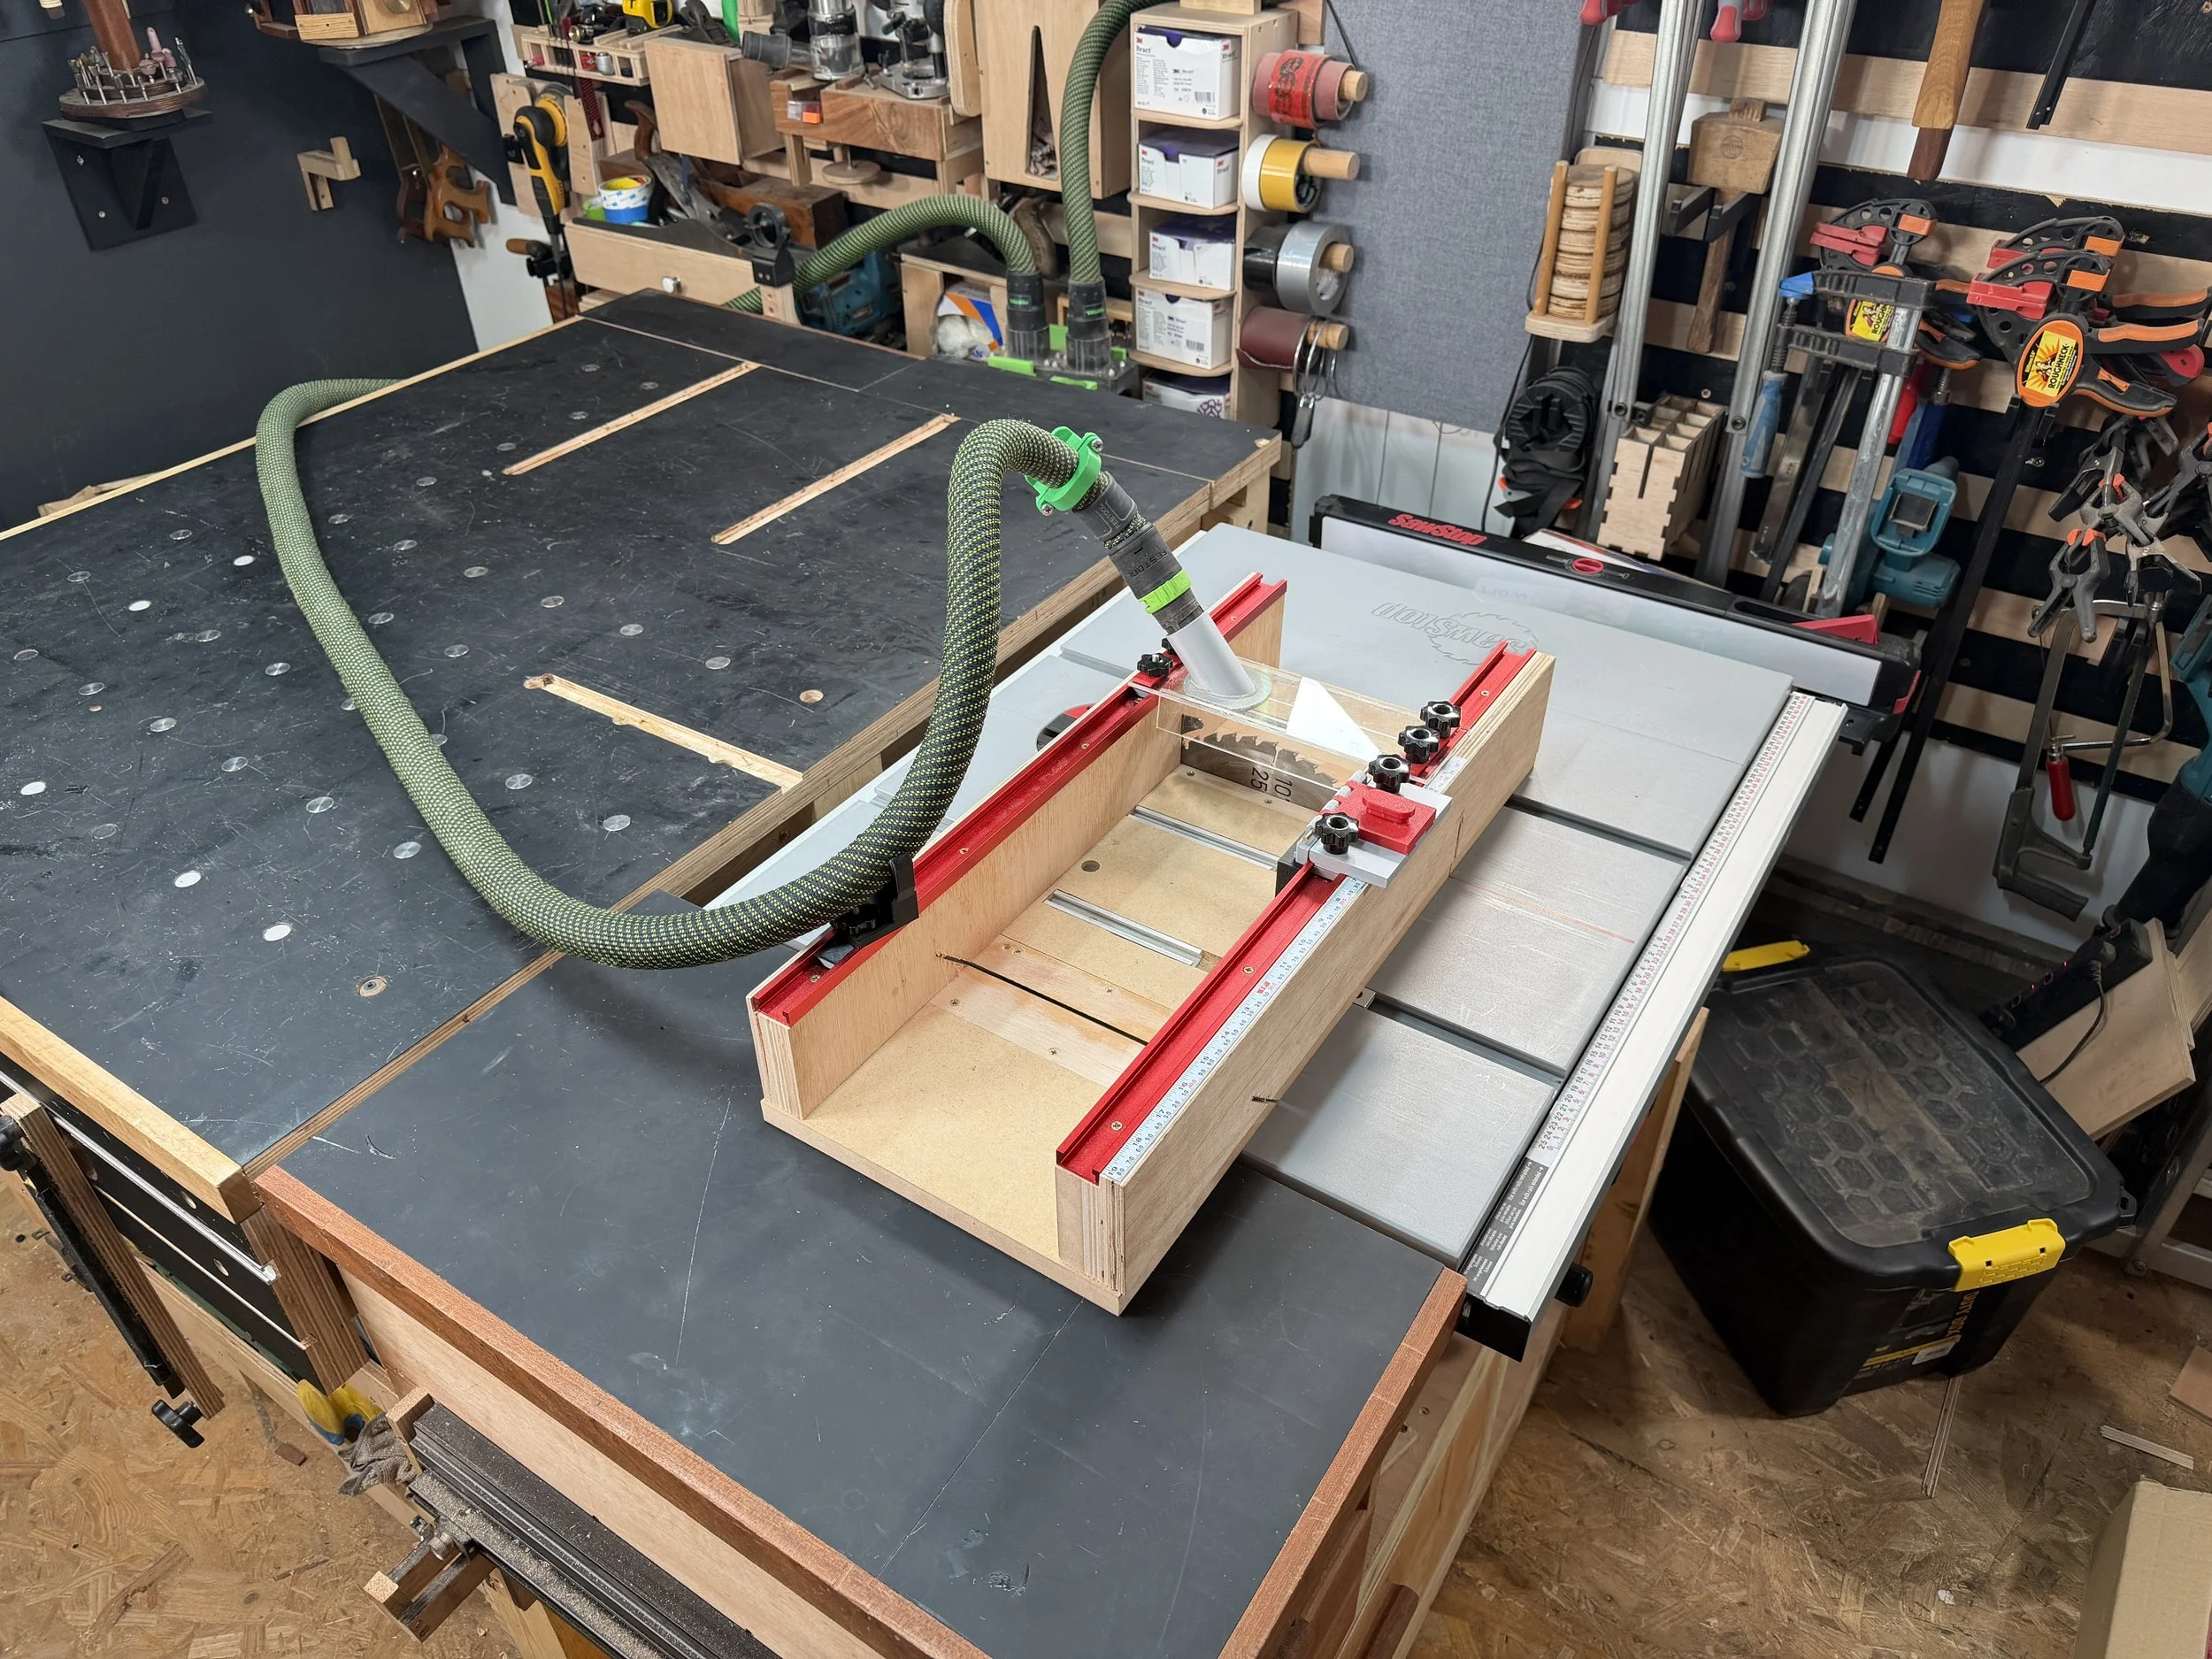 Image 7 of 9
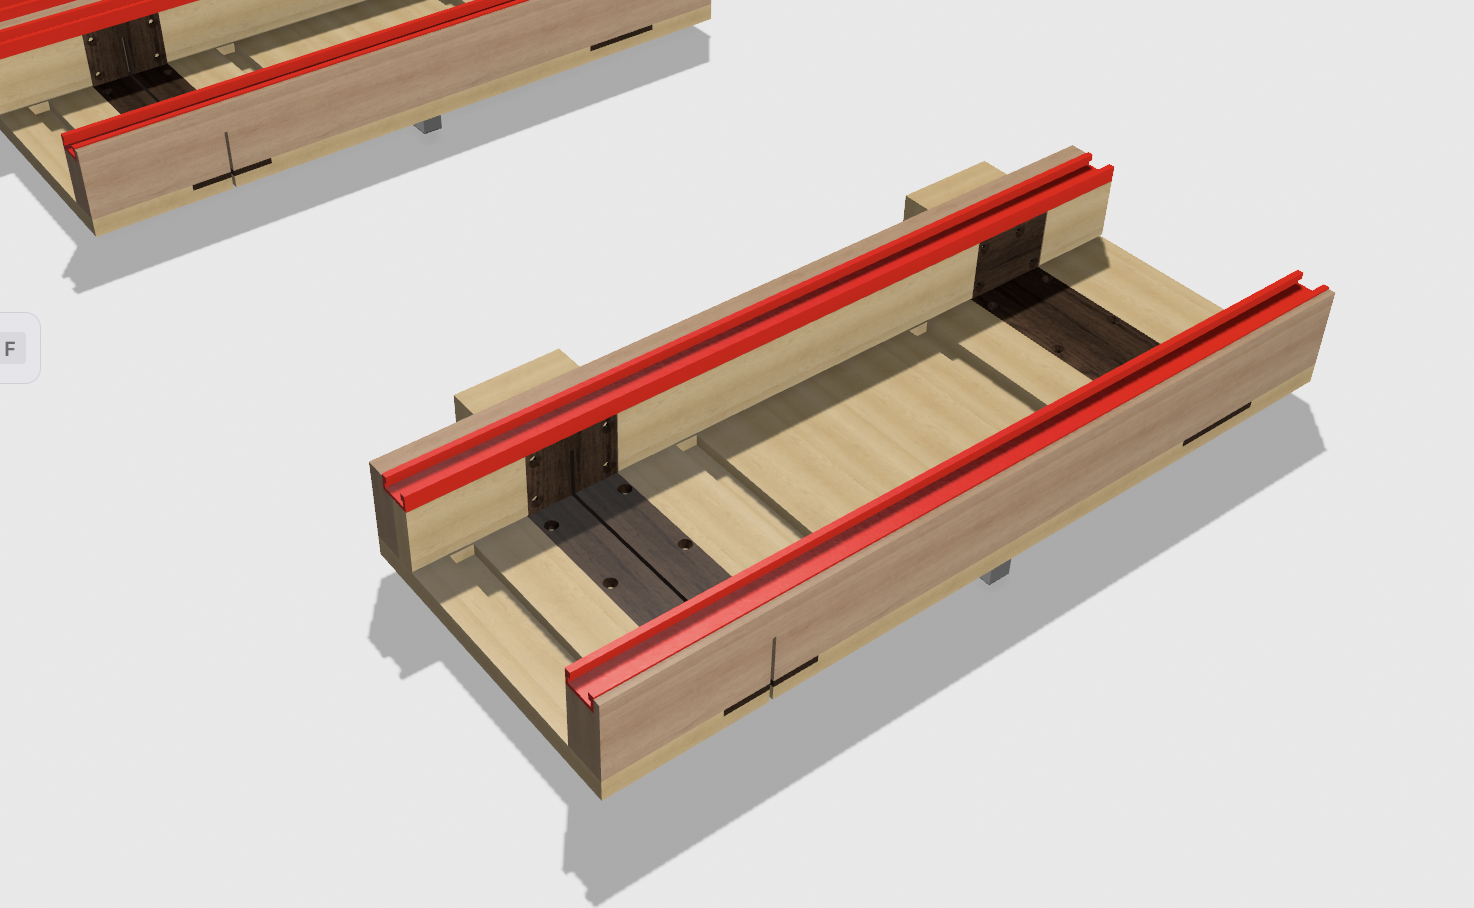 Image 8 of 9
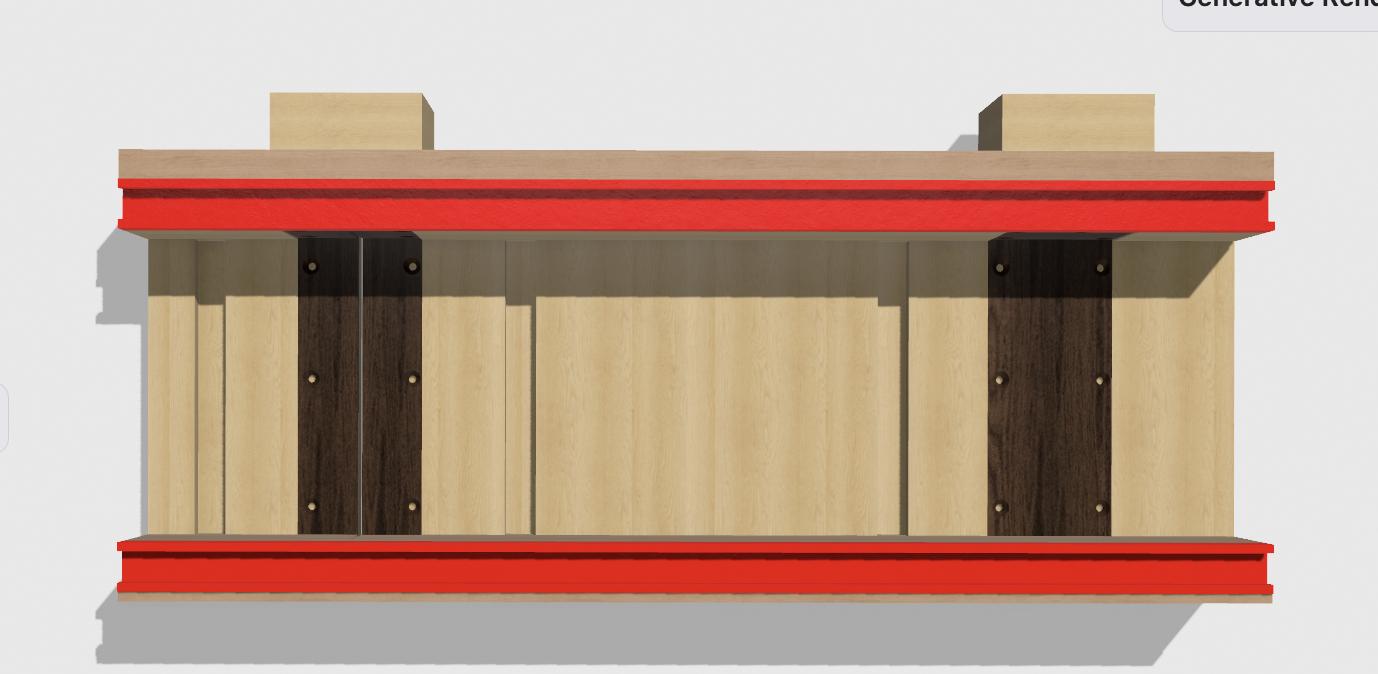 Image 9 of 9